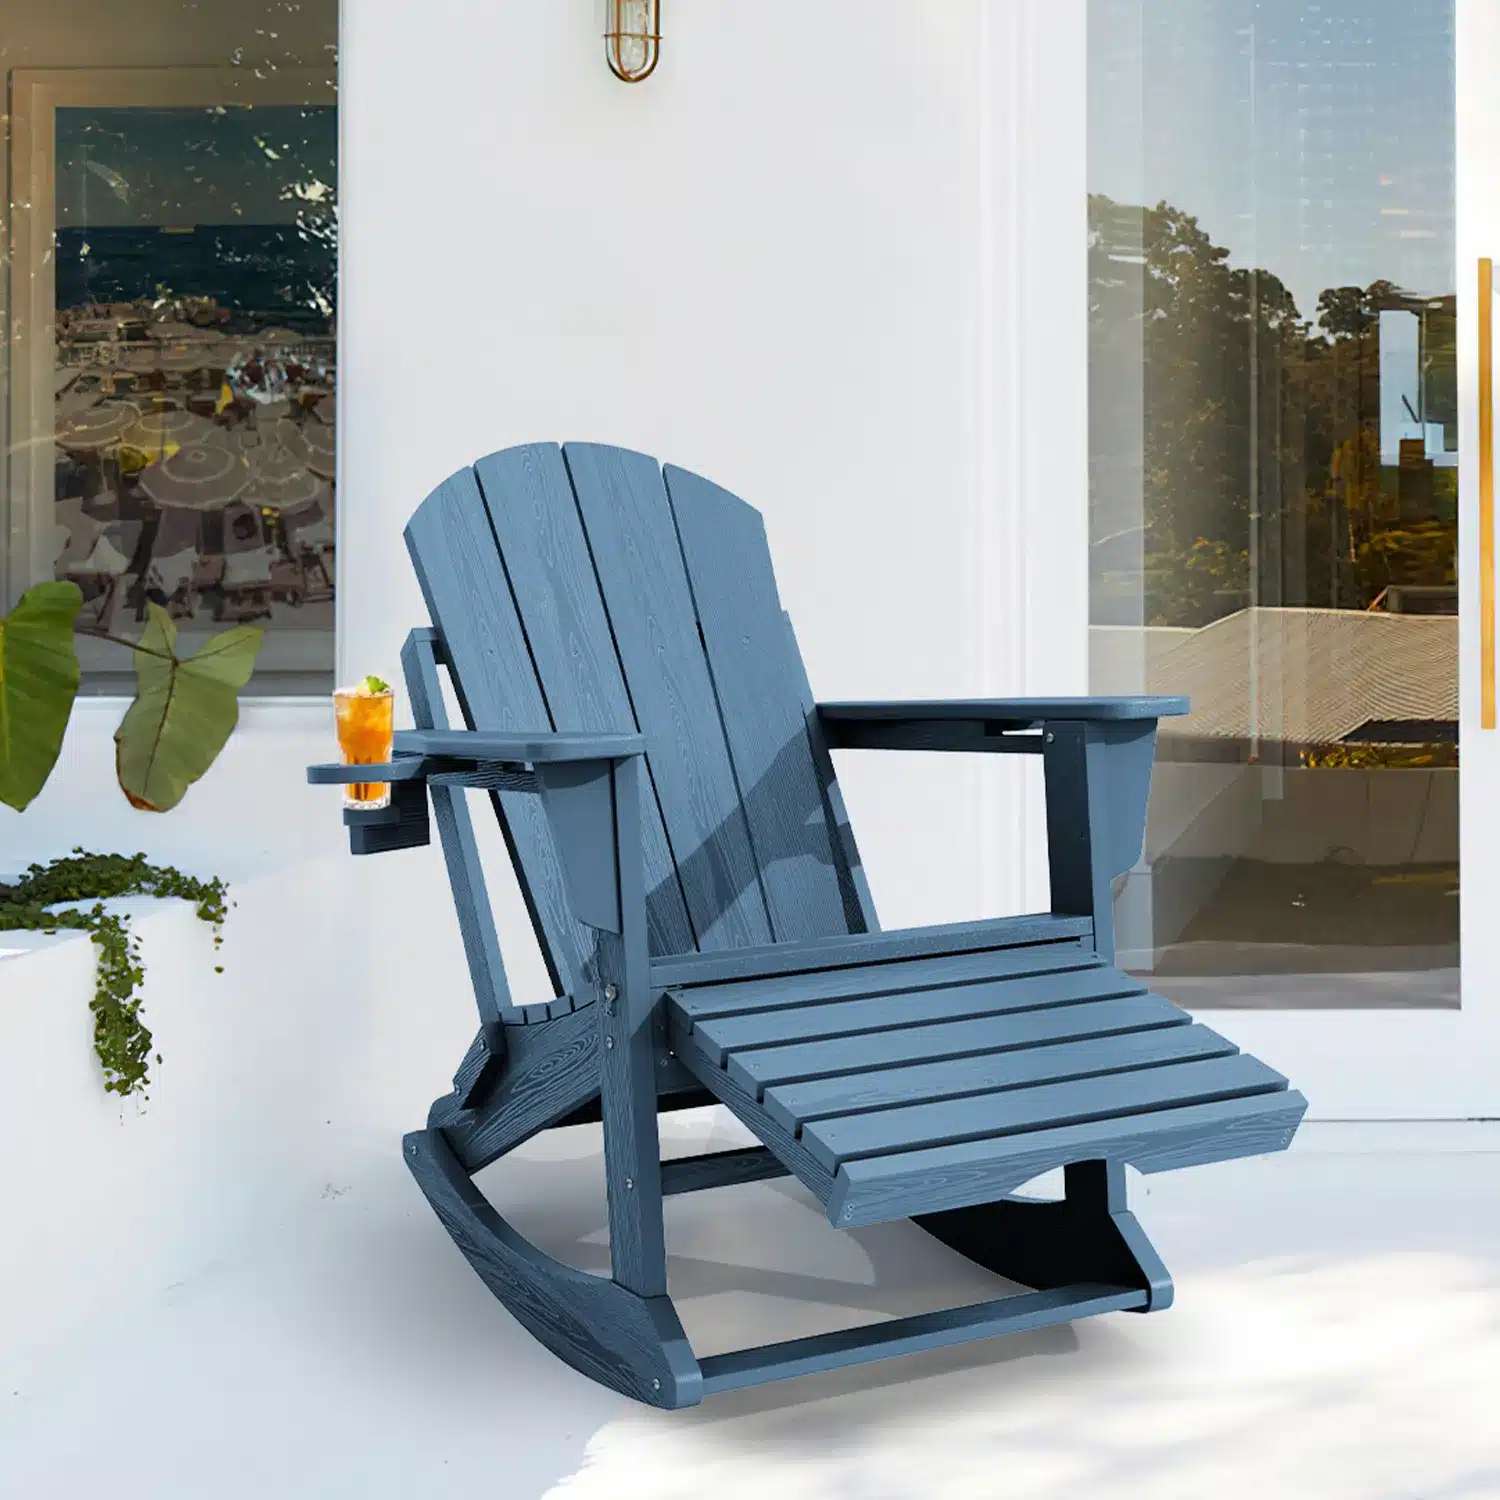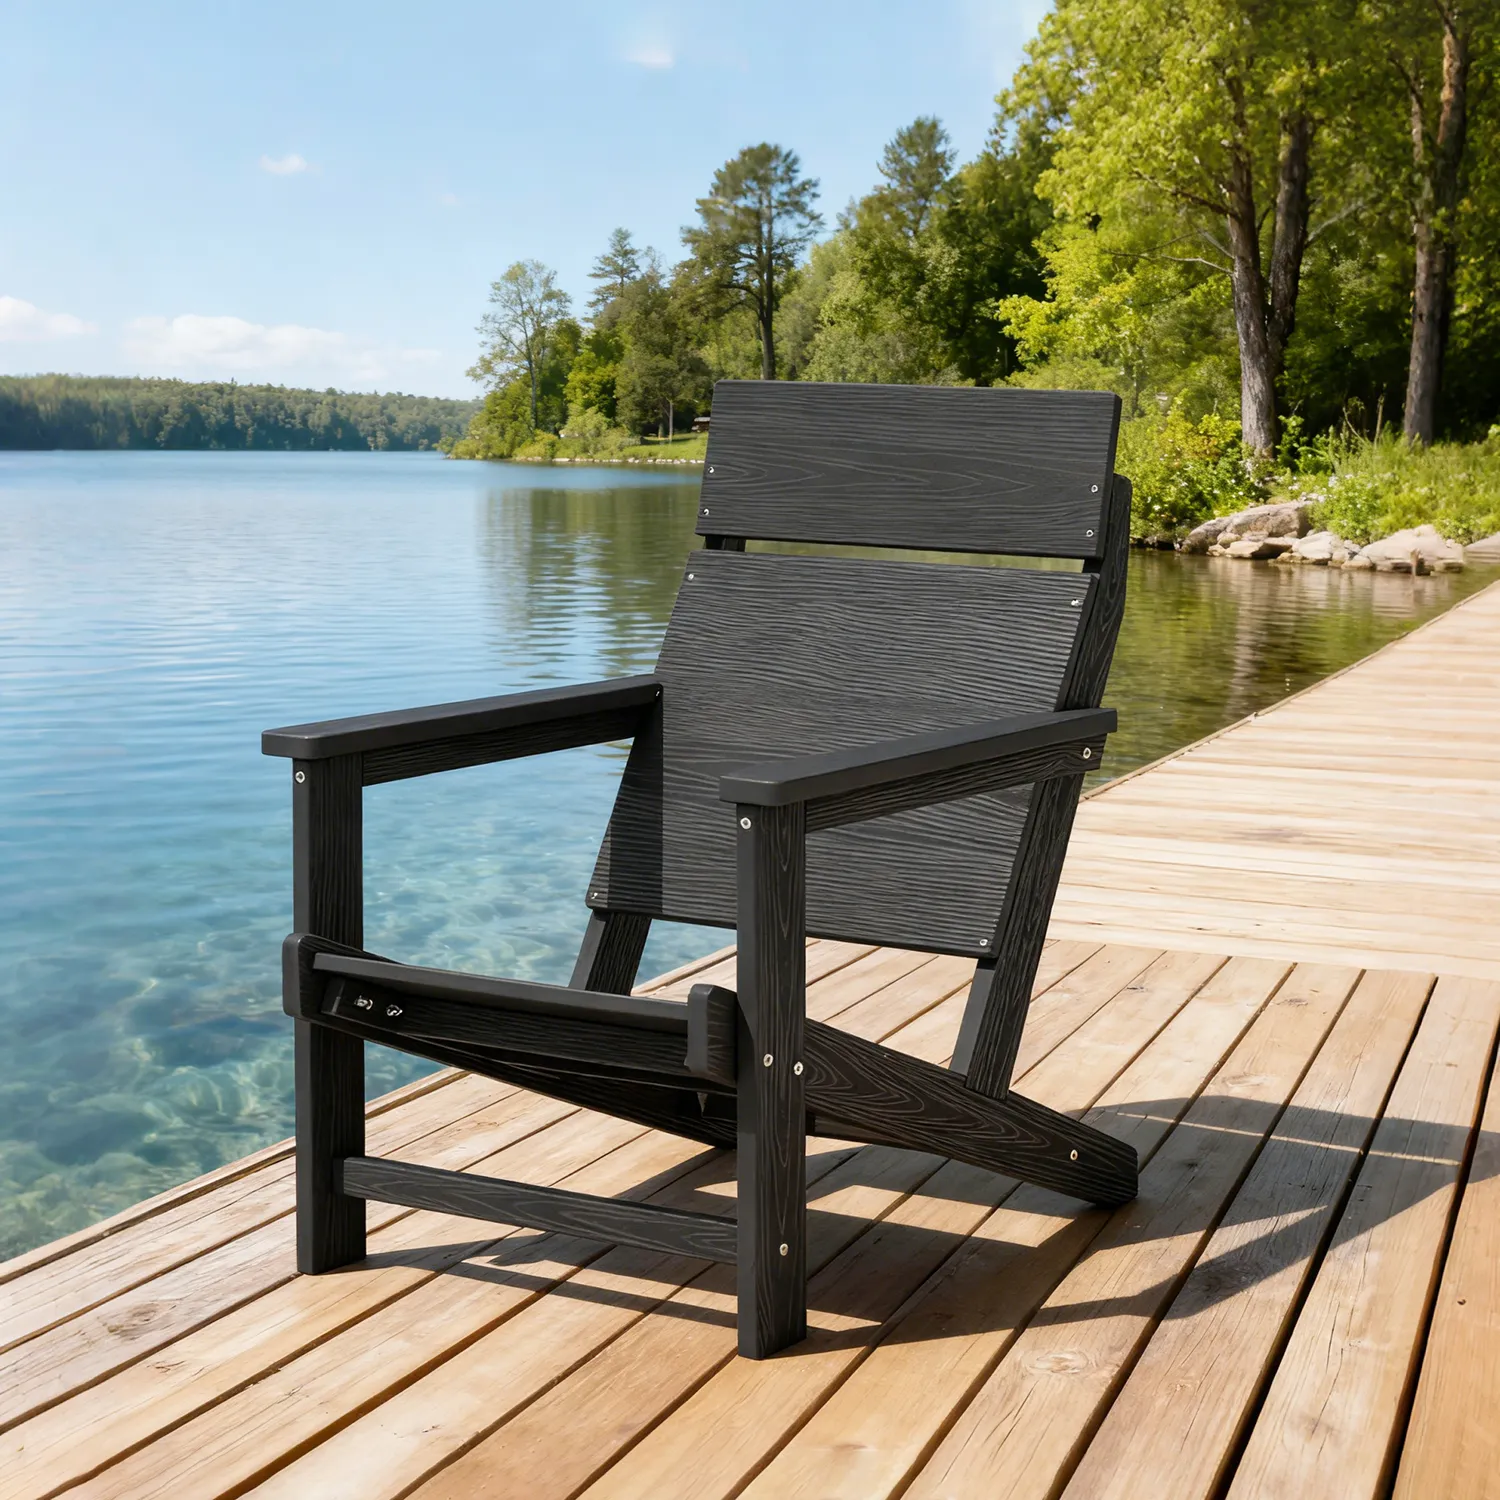
Looking for the perfect piece of furniture to elevate the comfort and style of your patio, then Adirondack chairs remain an excellent choice. Comfort and durability, it can be placed anywhere from your front porch to your backyard oasis.
If you have enough time and energy, you might want to diy an Adirondack chair. The process may be hard, but you will get a great sense of accomplishment. How to get started? Following is our step-by-step guide on how to build an Adirondack chair.
List of Materials and Tools Needed
Before making the Adirondack chair, please prepare the necessary tools and materials. The list is as follows:
Materials:
- 1″ x 2″ x 8′ (4) wooden panels
- 5/4″ x 4″ x 8′ (1) wooden panels
- 1″ x 4″ x 8′ (3) wooden panels
- 1″ x 6″ x 8′ (2) wooden panels
- 2″ x 2″ x 4′ (1) wooden panels
- 2″ exterior screws
- 1 1/2″ exterior screws
- 1 1/4″ exterior screws
- 3/4″ floor glides
- 7/8″ floor glides
Tools:
- Miter saw
- Circular saw
- Jig saw
- Sawhorse
- Clamps
- Power sander
- Power drill
- 3/32″ Drill bit
- Exterior driver bit
- Hammer
12 Steps: How to Build an Adirondack Chair?
Making an Adirondack chair is a complex and systematic task. Breaking it down into steps will help you get more results with less effort. Read on to discover a step-by-step plan for making an Adirondack chair, designed to help you get started quickly.
Step 1: Make the Initial Cuts
Start by making straight-edge cuts using a mitter or circular saw. This way you can be more organized and set up for the complex curved cuts. Follow the detailed diagram and instructions below to cut the piece accordingly:

- First, take the four (1″ x 2″ x 8′) wooden panels and cut them into four pieces with a length of 21 1/4″, two pieces with a length of 23″, and one piece with 18″ length.
- Next, cut the three (1″ x 4″ x 8′) wooden panels into five pieces each with a length of 37″.
- For the (5/4″ x 4″ x 8′) wooden panel cut two 21″ long pieces.
- The two (1″ x 6” x 10”) wooden panels should be divided into two pieces with 37″ length, and two pieces with 25″ length.
- Lastly, the (2″ x 2″ x 4′) wood panel should be cut into one 20″ long piece and one 23 1/2″ long piece.
Step 2: Make the Complex Curved Cuts
To make complex curved cuts you will need a sawhorse, a jig saw, and a couple of clamps. Follow the diagram and instructions for the complex curves:

- Start by cutting the diagonal handrails. Use the previously cut (1″ x 6″ x 25″) blocks of wood to measure and mark. Then clamp the blocks to sawhorses and cut with a circular saw. When cutting the handrails, be sure to consider the left and right sides.
- Next, cut the curved back support pieces. Using the image above as a reference, mark and trace smooth curves on both sides. Clamp the board to the sawhorse and cut along the curves.

- Now is the time to cut the curved back slats of the Adirondack chair. You can print and trace the following patterns to cut out these complex curves. Use the five (1″ x 4″ x 37″) panels you had cut earlier. Once you have traced the curves onto three panels marked 1, 2, and 3, clamp down the boards and cut with a jig saw. When one side is done, use that as a reference point to cut the other side for a smooth curve.
- Lastly, cut the classic angled legs of the Adirondack chair. Precisely, tape the pieces of the paper pattern onto the two wooden panels measuring (1″ x 6″ x 37″). Trace the pattern with a pencil and cut using a jig saw. To ensure safety keep the saw close to the edges and keep adjusting.
Step 3: Do A Quick Dry Fit
Once you are done cutting all the pieces, it is important to dry fit the pieces and make the necessary adjustments.
- The bottom back support measuring (2″ x 2″ x 20″) should easily fit in between the legs.
- Dry fit and check if the seat slats measuring (1″ x 2″ x 21 1/4″) easily span across the legs. Make sure that the slats do not hang from the sides. Adjust and make necessary cuts accordingly.
Step 4: Sand All the Pieces
Before assembling the chair it is important to properly sand all the pieces.

- An electric sander remains a convenient tool for sanding the wooden pieces. You can use 100 grit sandpaper on the rough side and 150 grit sandpaper on the smooth side to achieve the best result.
- It is important to round off the corners and edges of each piece to make your Adirondack chair more comfortable and appealing.
Step 5: Assembling the Seat Base
To build the Adirondack chair start by assembling the base of the seat first:

- Attach the arched back support measuring (2″ x 2″ x 20″) to the diagonal legs. The edged corner of the legs is considered the back point. Measure 17 3/4″ from the back point and draw a line with a pencil. Position the back support in front of this line to attach the two legs. It is important to predrill 2″ holes in the middle of the (2″ x 2″) surface of the back support. Once properly aligned secure it with 2″ exterior nails. Repeat the process for both legs to create a firm support for your seat.
Step 6: Add the Slats to the Seat

Once you have the base ready, it is time to put the slats measuring (1″ x 2″ x 21 1/4″) onto the seat.
- From the back support measure 1″ and draw a line with a pencil. Place your first slat in front of the line. Predrill and fasten the 2″ exterior screws to secure each slat.
- The remaining ten slats will each be placed with a spacing of 3/8″. It is a good idea to precut a spacer that is 3/8″ wide. Hold it against each slat and mark next to it on both sides of the leg. This would make the placement much easier as you move onto the curved part of the seat. Carefully, fasten all the eleven slats to finish your seat.
Step 7: Attach the Front Legs
Once you have the back legs and seat assembled, it is time to attach the front legs.

- To attach the front legs you must adjust the position of the seat. Use lumbar scrap, books, and magazines to create support for the seat. Place it in a way that the back legs lay diagonally onto the floor. Make sure you do this on an even surface.
- The front legs measure (5/4″ x 4″ x 21″). Place it firmly onto the ground and align it with the sixth slat of the seat (counting from the back). Once the leg is in place, clamp and predrill four holes. Secure the front legs with four 1 1/2″ exterior screws.
Step 8: Attach the Arm Supports
After the legs, you need to secure the armrest support.

- The arm support will measure (1″ x 2″ x 23″). It should be attached to the outer surface of the front legs. Align the arm support with the top edge of the legs while keeping 1″ overhanging. Clamp in place, predrill, and secure the arm support with 1 1/2″ exterior screws.
Step 9: Assemble the Middle Back Support
Once the armrest support is secured, fix the middle back support in place.

- The arched back support measures (2″ x 2″ x 23 1/2″). Mark 3/8″ from each end of the arm support. Place the back support in front of the mark. Predrill and secure it in place with 2″ exterior screws. This way you can easily pivot the back support to adjust the back slats.
Step 10: Attach the Armrest
You can now fix each armrest onto the supports.

- The angled armrest measuring (1″ x 6″ x 25″) will be attached on top of the armrest supports. Taking the end of the middle back support as the starting point, measure 2 1/2″ and draw a line. Align the armrest with this line, leaving about 1 3/4″ overhanging from the supports.
Step 11: Assemble the Back of the Chair
It is now time to arrange the back slats of your Adirondack chair.

- Start by securing the outer slats first. Measure and mark 1″ from the bottom of the back support. Align your outer slat along this mark on the bottom support. As you reach the middle support make sure that each outer slat is neatly tucked with the armrest. Clamp in place and secure with two 2″ exterior screws both on the bottom and the middle support.
- Next, you need to place the central slat. Measure and mark the center of both the middle and bottom back support. From this central point, make a marking of 1 3/4″ on either side on both the middle and back support. Align the central slat with the marking and secure with two 1 1/2″ exterior screws.
- Complete the back by securing the middle slats. From the central slat measure 1″ on both the bottom and middle support. Align each slat with the marking. Again predrill and secure with two 1 1/2″ exterior screws.
Step 12: Insert Floor Glides
Your Adirondack chair is almost ready; all you need to do is insert floor glides for additional protection.

- Start by hammering 3/4″ floor glides onto each of the back legs. For the front legs carefully insert 7/8″ floor glides. The glides are a great way to protect both your floor and chair from daily wear and tear.