Enjoy the outdoors with a comfortable Adirondack Chair. However, being constantly exposed to harsh weather elements, the chair is prone to wear and tear. If you are willing to bring back your Adirondack chair to its former glory, repainting remains a great idea. Painting can renew your Adirondack chair.
Following is our detailed guide on how to paint an Adirondack chair. From painting a brand new chair to repainting an old one and maintaining it, our guide can allow you to make the most of any backyard, patio, or balcony.
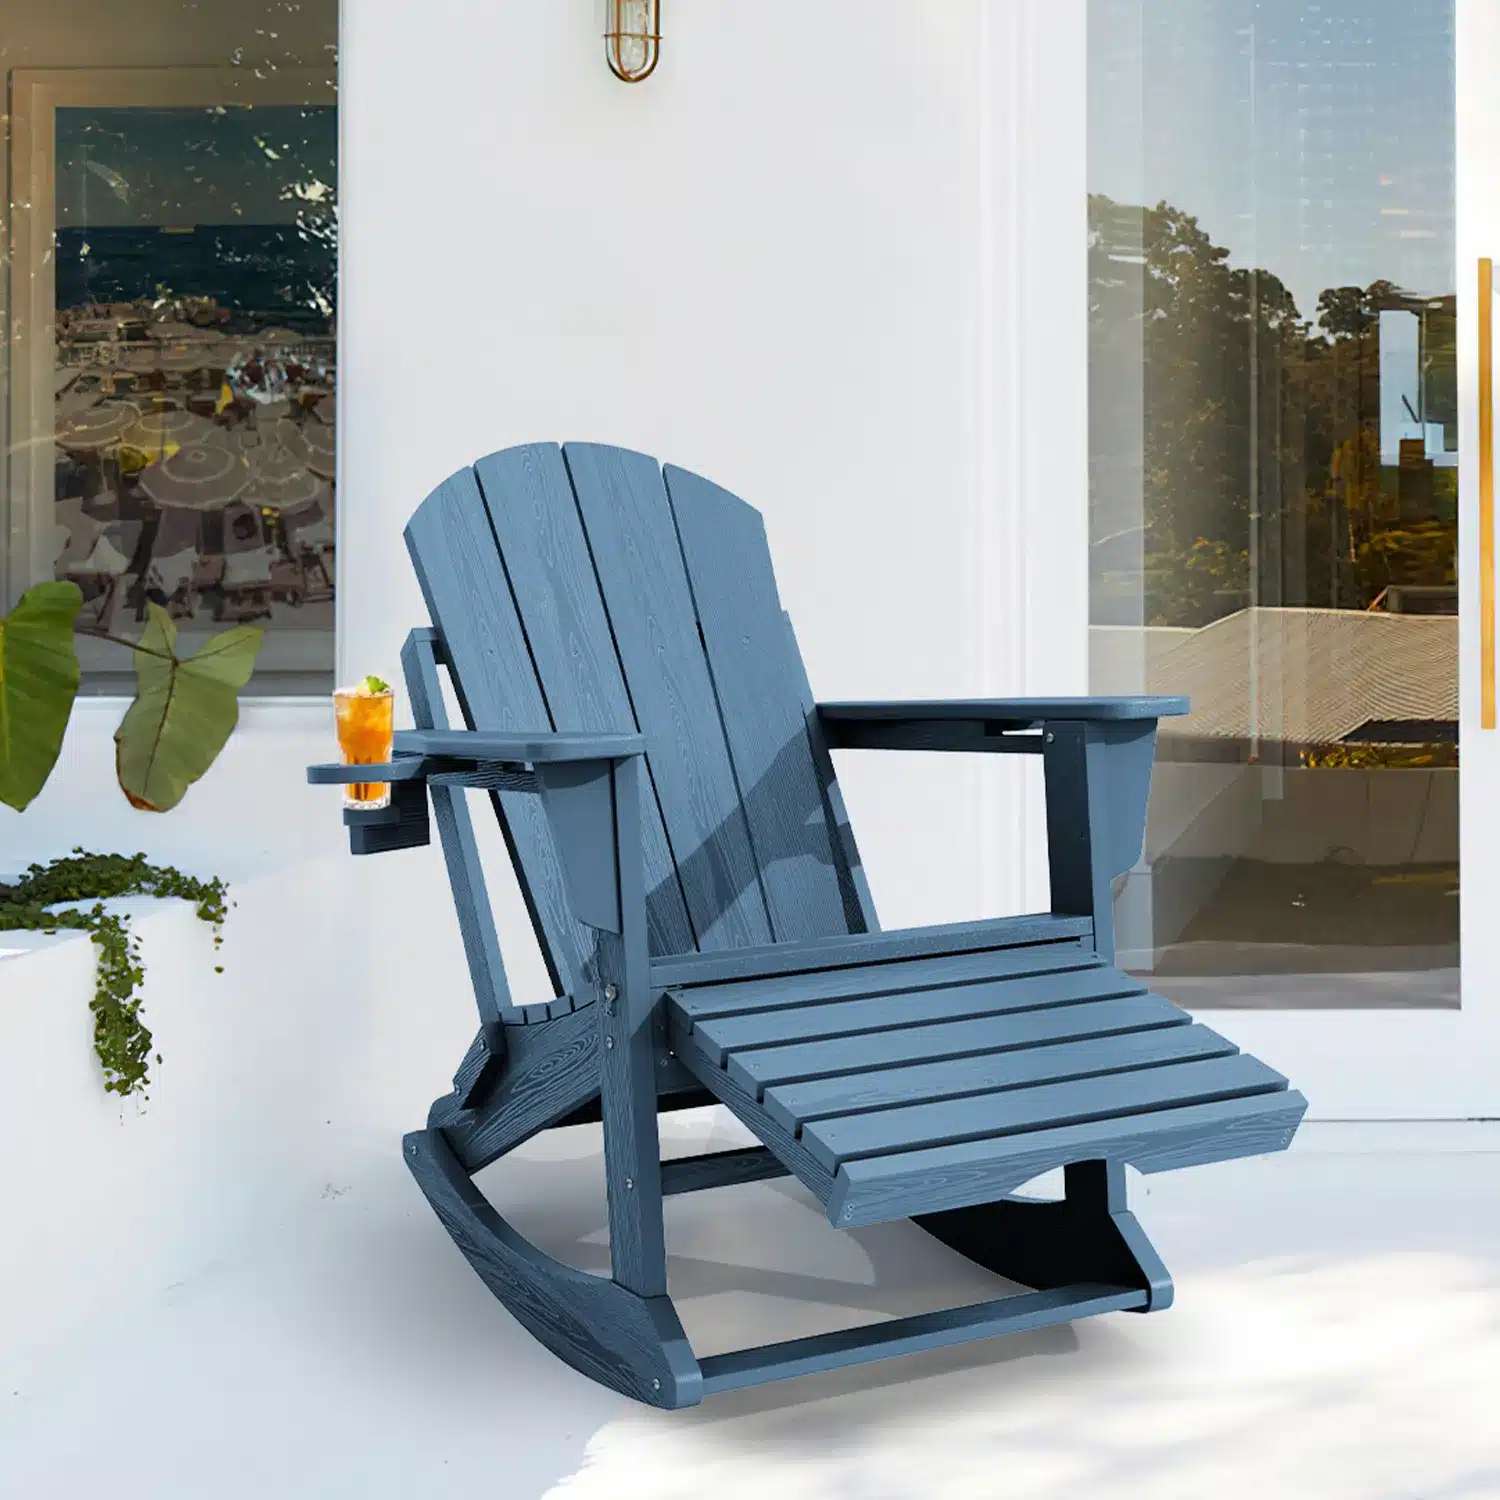
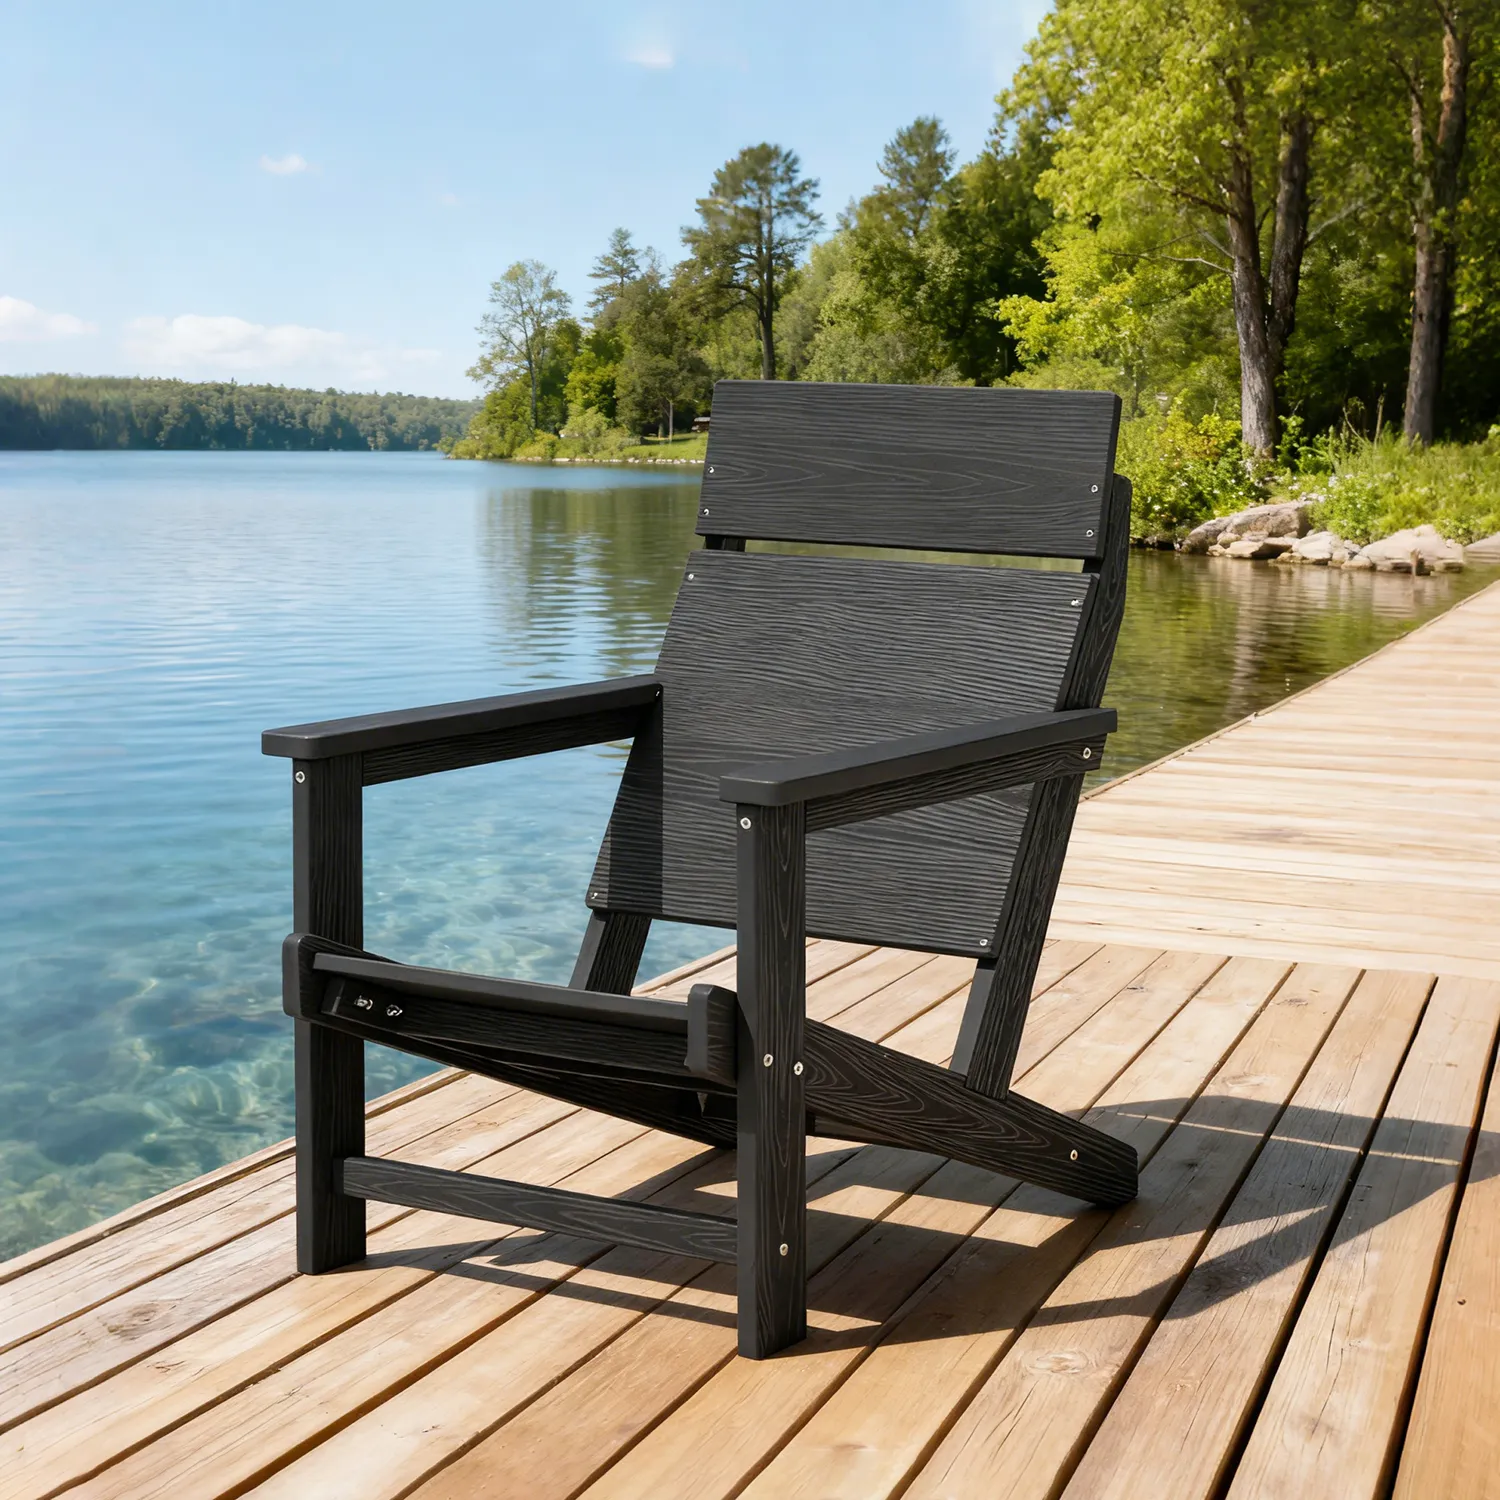
If you don’t want to spend a lot of time repainting, consider investing in our durable Adirondack chairs. Read our Adirondack chair buying guide to find your favorite color options.
Materials You Will Need
The tools needed to paint Adirondack chairs are fairly simple, such as paint, spray paint, sandpaper, topcoat, and waterproof sealant. The most important part is still choosing the right paint or spray paint. Paint plays an important role in protecting the chair from the harsh weather.

Following is the list of materials you will need for painting an Adirondack chair:
- Two cans of exterior spray with primer (In your choice of colour)
- Dry cloth and household cleaner (Optional)
- Coarse sandpaper
- Drop cloth and masking tape
- Top coat (Water sealer)
How to Paint an Adirondack Chair Step-by-Step

This step-by-step guide mainly focuses on how to paint Adirondack chairs. From painting a new wooden chair to guiding you on how to repaint an Adirondack chair, this section can easily guide you through the process.
Step 1: Make the necessary repairs
Before painting an Adirondack chair, it is important to make all necessary repairs to the chair. If you are painting an old Adirondack chair, make sure to check for loose boards, splinters, or deep gouges in the wood. Once these are fixed, fasten and tighten any loose screws in the chair. Make sure all the repairs are done before the painting process.
Step 2: Thoroughly clean the chair

It is important to clean Adirondack chair before you can start prepping it for the paint. To clean a new Adirondack chair you may only need a damp cloth. Use a damp cloth to wipe off any dirt or dust from the chair.
For old Adirondack chairs that have accumulated dust and mildew, a household cleaner may be necessary. You can use a brush to remove dirt or any stubborn stain. Once done, it remains a good idea to use a rag soaked in warm water to pick up any remaining residue. It is equally important to give your Adirondack chair adequate time to dry. Use a towel and then allow the chair to air-dry completely under the sun.
Step 3: Sand and prep the chair

One of the most crucial steps remains to sand and prep the chair for the paint job. Even if you are painting a new Adirondack chair, it is a good idea to thoroughly sand the chair first. A smooth, sanded surface will allow the paint to penetrate and adhere better to the chair.
If you repainting an old chair, make sure you remove any remaining, chipped-off paint. A coarse 80 grit sandpaper can enable you to sand any rough edges or imperfections. For a new chair, a 100 grit sandpaper might also work. Make sure you sand the chair from all sides, top to bottom, to ensure a smooth surface and hassle-free painting process.
Step 4: Spray paint the chair

Once you have sanded the chair, make sure to wipe off and remove any sawdust. It is also important to lay a drop cloth beneath the chair to protect the floor and surrounding areas from over-dripping of the spray paint. You can secure the drop cloth with masking tape.
If you are not sure how to spray paint Adirondack chairs, then follow the precise guidelines below. You can also check the Youtube video to attain a brief understanding on how to spray paint an Adirondack chair.
How to paint plastic adirondack chairs? Follow me to find the easiest way to paint it.To spray paint the chair, shake the can properly for around a minute. Keep it at least 10 inches away from the chair, and spray in a steady sweeping motion. The sweeping motion will prevent the paint from running and dripping. It is advisable to start from the top, in up and down motion to achieve a smooth and even coat. Make sure you cover all the corners and edges of the chair.
It is preferable to apply the second coat as soon as the chair is dry to touch. This may take about an hour, depending on the paint being used. Make sure you cover any remaining light areas or streaks in the second coat. In most cases, you will achieve good results within two coats. If there is any color variation or spots, you may require a third coat.

Once you are done painting and reapplying the coats from the outside, it is time to flip the chair. Make sure your chair is dry to the touch before you can flip it. This may take about an hour, depending on the spray paint being used. Once you have flipped the chair apply paint to all nooks and crannies, at least twice.
When done with spray painting, allow the chair to dry. The time may vary according to each spray paint, but it is advisable to give your Adirondack chair at least a day to dry.
Step 5: Apply the top coat
A top coat of an exterior water sealer can protect the chair from harsh weather. You can apply it with a brush, roller, or spray. Apply it evenly upon the chair going from top to bottom. Once the chair is dry, flip it and apply the clear coat to the remaining areas. Check the instructions given, and allow your Adirondack chair to dry accordingly.
Tips and Considerations

When setting up to paint your Adirondack chair, many things need to be considered.Here are some key points:
- Keep it ventilated. Make sure the work area is well ventilated and cover all surrounding areas with dust sheets. If you are working outdoors, it is best to purchase a spray booth. Even if it is windy and rainy, you can spray paint outdoors and easily let the chair dry naturally.
- Choose spray paint for painting. We recommend spray paint because it dries faster and is easier to apply evenly. If your spray or paint does not include a primer, make sure you apply the primer onto the chair first. Lastly, always read and follow the instructions given with the paint, as the drying time and directions of each may vary.
- Sand the chair thoroughly. To achieve the best result it is important to sand the chair and remove any remaining paint. If you have to take off a lot of paint, it is a good idea to use a liquid deglosser. It can greatly help in removing old paint from the chair.
How to Maintain Your Painted Adirondack Chair
Since Adirondack chair mostly stay outside, it is easily prone to wear and tear. On average, you may need to repaint an Adirondack chair once in one to three years. Here are some ways you can extend the life and durability of your chair.
- Give the chair a top coat. A waterproof sealer or polyurethane coating will help protect the chair from the elements.
- Choose a paint with a glossy finish to extend the life of your chair. The paint will reflect more light and protect against harsh weather elements. To prevent the build-up of dirt or grime, it is preferable to wash the chair with mild soap after every few weeks.
- If the weather is inclement, consider moving the Adirondack chair to a shaded area.
These simple measures can keep your Adirondack chair in good condition and enable you to enjoy it for a longer period of time.
Final Thoughts
The above five steps can make the painting process of Adirondack chairs much easier.Although repainting can be time-consuming, it is a great way to extend the life of your Adirondack chairs. Be sure to follow our simple guidelines to maintain an Adirondack chair and embody a dose of comfort and style in your outdoor spaces.
FAQs
How Often Should You Paint Adirondack Chairs?
Generally, an Adirondack chair will require a paint job once in 1- 3 years, depending on the maintenance of the chair.
Is it Better to Paint or Stain an Adirondack chair?
If you want to easily care for your Adirondack chairs, staining is the best way to do it. It is thinner, takes less time to dry, and can give the chair a better appearance. Staining does not require any type of primer and generally requires less prep work than painting.
What is The Best Paint for Wood Adirondack Chairs ?
For wooden Adirondack chairs, a high-quality latex paint or acrylic primer is the best choice. These paints resist UV rays and moisture, making your refinished wooden Adirondack chair last longer.
Can I Paint Plastic Adirondack Chairs?
Of course. However, the plastic Adirondack chair has a smooth surface and is not easy to paint. It requires more time and effort.
What is the Best Paint for Plastic Adirondack Chairs?
How to Paint Plastic Adirondack Chairs?
To paint a plastic Adirondack chair, follow these steps:
- Clean the plastic Adirondack chair with soapy water and allow it to dry.
- Scrape the chair’s surface with sandpaper to make it easier to paint.
- Apply a first coat of plastic spray paint to the chair. Once dry, spray on a second coat for reinforcement.
- For a more attractive finish and to prevent scratches, apply a topcoat after painting.