When outdoor furniture is exposed to the elements for long periods of time, it’s inevitable that the color will fade or the paint will fall off. But don’t be in a hurry to throw them away, they can become as good as new with a fresh repaint. Not only does this save the cost of replacing furniture, but it’s also less wasteful and more environmentally friendly.
In this post, we will provide detailed instructions on how to repaint outdoor furniture made of wood, metal, and plastic.
How to Repaint Wood Outdoor Furniture
Tools and Materials You Will Need
- Garden hose
- Soft-bristle brush
- Mild soapy water
- 80-grit sandpaper and 120-grit sandpaper
- Electric sander (optional)
- Soft cloth or tack cloth
- Exterior wood spray paint cans
- Paintbrush
- Exterior wood varnish
Step 1: Clean

Before repainting, we clean the furniture. First, rinse the furniture with a garden hose to remove surface leaves and loose dust, then use a soft-bristle brush dipped in mild soapy water to carefully brush the surfaces and crevices of the furniture. Finally, rinse off the foam thoroughly with water and place the furniture in a cool, ventilated area to dry.
Step 2: Sanding

First use 80-grit medium sandpaper to remove the aged paint layer, and then use 120-grit fine sandpaper to carefully sand the surface to make it smoother and help the new paint adhere. When sanding, follow the direction of the wood grain to avoid scratches. For large areas, you can use an electric sander, and it is recommended to handle corners and gaps manually. After sanding, use a tack cloth or a damp soft cloth to remove dust. When operating, be sure to operate in a well-ventilated outdoor space, and wear a mask, goggles and gloves to prevent inhalation of sawdust.
Step 3: Spray Paint

Next, let’s spray paint the furniture. When spraying, keep the nozzle about 10 to 12 inches away from the furniture surface, move back and forth horizontally or vertically at a constant speed, and avoid staying in one point for too long to prevent paint dripping or accumulation. It is usually recommended to spray 2 to 3 coats, with an interval of 2 to 4 hours between each coat, and make sure that the previous coat is completely dry before spraying the next coat. When you are finished, place the furniture in a well-ventilated and cool place to dry.
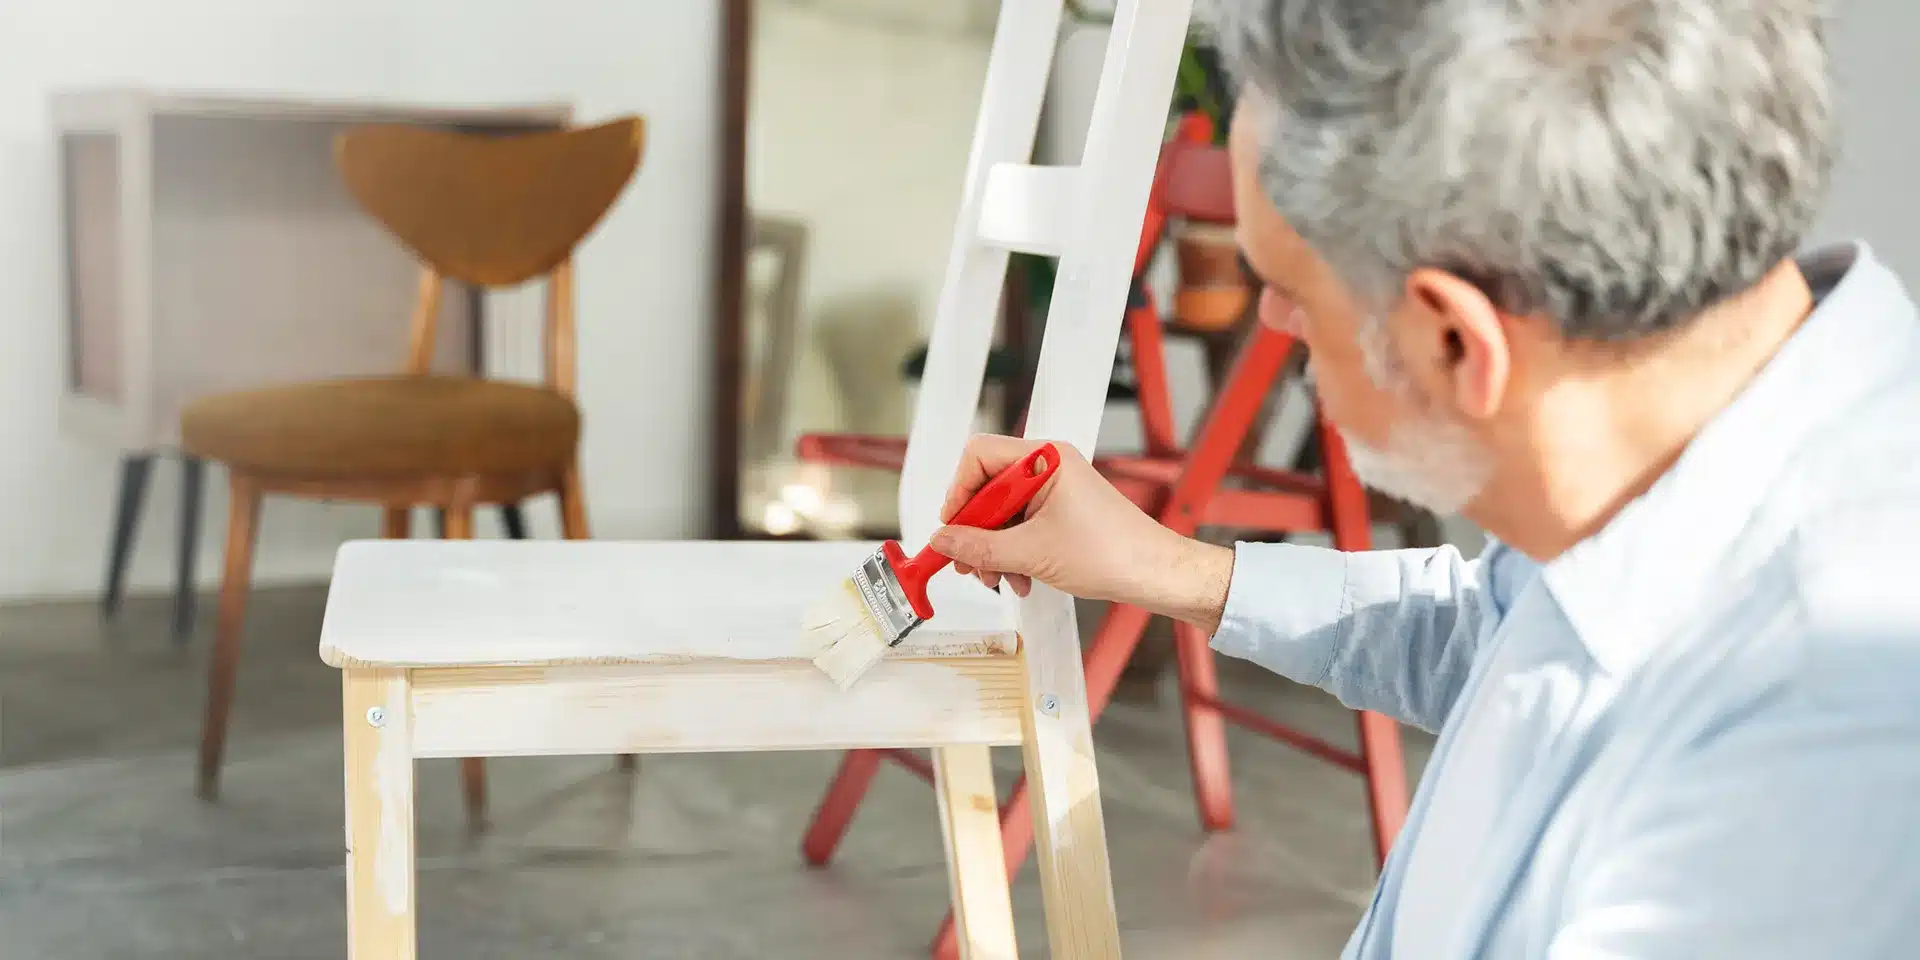
Step 4: Seal for Protection

To keep the repainted wooden outdoor furniture beautiful and durable, the last step is to seal it. You can choose a waterproof and UV-resistant outdoor wood varnish (such as polyurethane) or an oil-based wood sealer. Use a clean brush to apply a thin layer along the direction of the wood grain. After it’s completely dry, you can apply a second coat.
How to Repaint Metal Outdoor Furniture
Tools and Materials You Will Need
- Steel wool or paint scraper
- 80-grit and 100-grit sandpaper
- Electric sander (optional)
- Rust-inhibiting metal primer (for outdoor use)
- Exterior metal spray paint cans
- Exterior metal sealer
Step 1: Remove Rust
Use steel wool or paint scraper to gently remove any loose rust from the surface. You don’t have to get rid of all the rust in this step, as we’ll get back to that in the second step.
Step 2: Sanding
First use 80 grit sandpaper to sand the surface of the metal furniture to completely remove stubborn rust spots and old paint layers. For areas with heavy rust that are difficult to handle, you can first spray rust remover and let it sit for a few minutes before handling it. Then use 100-grit sandpaper for finer sanding to improve surface flatness.

When sanding large areas, it is recommended to use an electric sander, which is efficient and can sand more evenly. For detailed locations such as welding points and corners of furniture, it is best to use handheld sandpaper to carefully handle them. After sanding, wipe the surface of the furniture thoroughly with a clean cloth and prepare for subsequent spraying.
Step 3: Apply Primer
Choose an anti-rust primer suitable for outdoor metal furniture, preferably one that is close to the original furniture base color. When spraying, keep the nozzle 10-12 inches away from the furniture surface, and move evenly horizontally or vertically to avoid staying in one spot. It is recommended to spray 2 to 3 coats, and wait for each layer to dry completely before applying the next layer to ensure that the coating is even and firmly adhered.
Step 4: Spray Paint
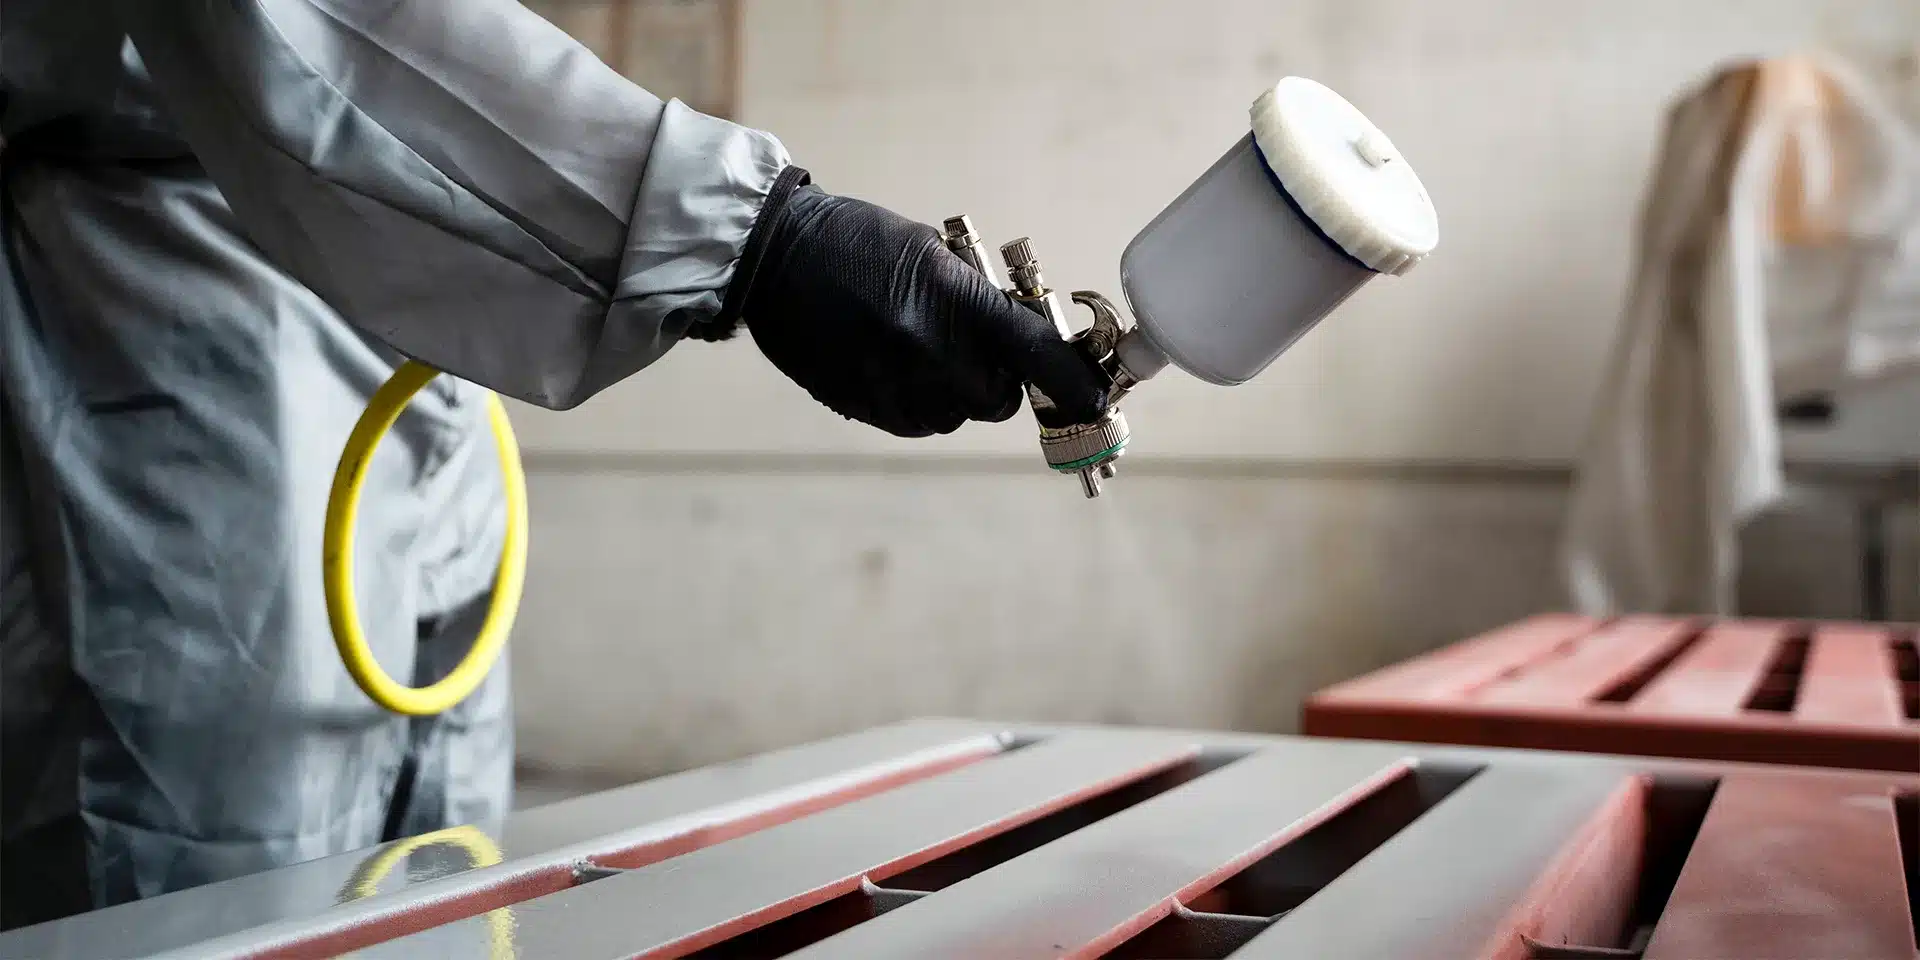
After the primer is completely dry, start spraying the main color paint in the same way as the primer. Pay special attention to the carvings and corners of metal outdoor furniture to ensure that the coating is fully covered to avoid missing spot that affects the overall appearance.
Step 5: Seal for Protection
Finally, apply a layer of transparent outdoor metal sealer to the metal furniture. Before applying, make sure that the previous paint layer has completely dried. After completion, place the furniture in a well-ventilated and cool place to dry and wait for at least 24 hours to ensure that it is completely dry before putting it into use.
How to Repaint Plastic Outdoor Furniture
Tools and Materials You Will Need
- Garden hose
- Soft-bristle brush
- Mild soapy water
- 220-grit sandpaper
- Exterior plastic spray paint cans
- Exterior plastic sealer
Step 1: Clean

First, use a garden hose to wash away any surface dust. Then, use a soft brush dipped in mild soapy water to gently scrub the furniture, especially in crevices. After cleaning, rinse off the foam with clean water and place the furniture in a cool, well-ventilated area to dry.
Step 2: Light Sanding
If your plastic outdoor furniture has been painted, or the old paint has peeled off, then sanding is a very necessary. Since the plastic surface is relatively smooth, it is recommended to use 220 grit or finer sandpaper for gentle sanding. After sanding, use a clean soft cloth or tack cloth to remove any remaining dust.
Step 3: Spray Paint

Because plastics are more demanding of paint, it’s best to choose an outdoor spray paint designed for plastics. When spraying, keep the nozzle about 10-12 inches from the furniture and spray evenly in a steady motion. It is recommended to spray 2 to 3 coats, leaving about 2-4 hours between each coat, or according to the recommended drying time in the spray paint product instructions.
Step 4: Seal for Protection
Plastic outdoor furniture also needs to be coated with a transparent protective sealer after repainting. The spraying method is the same as for painting. After coating, place the furniture in a cool, well-ventilated area and let it dry for at least 24 hours to ensure the sealer fully cures.
Final Thoughts
After reading the repainting process above, you might realize that updating the look of your outdoor furniture is easier than you thought. Whether it’s made of wood, metal, or plastic, simply following the steps can give it a fresh new look and extend its life.
But if your furniture is too old, or you don’t have the time or energy to renovate it, you might consider investing in a piece of Serwall outdoor furniture. These pieces are made of durable HDPE or HIPS, with low maintenance costs and long-term outdoor use. They’re also not easy to fade, making your outdoor life easier and more comfortable.