
If your patio needs decorating but you’re out of ideas, creating your own patio planting boxes is a great option. DIY planting boxes not only add a unique personalized touch but are also more cost-effective compared to buying pre-made ones.
How to make planter boxes for your patio? The process isn’t complicated. Read our DIY guide for detailed instructions, from materials to decoration.
Preparations for DIY a Planter Box
How to make planter boxes for your backyard? Don’t rush. Before we begin, we need to make the following preparations:
Materials List:
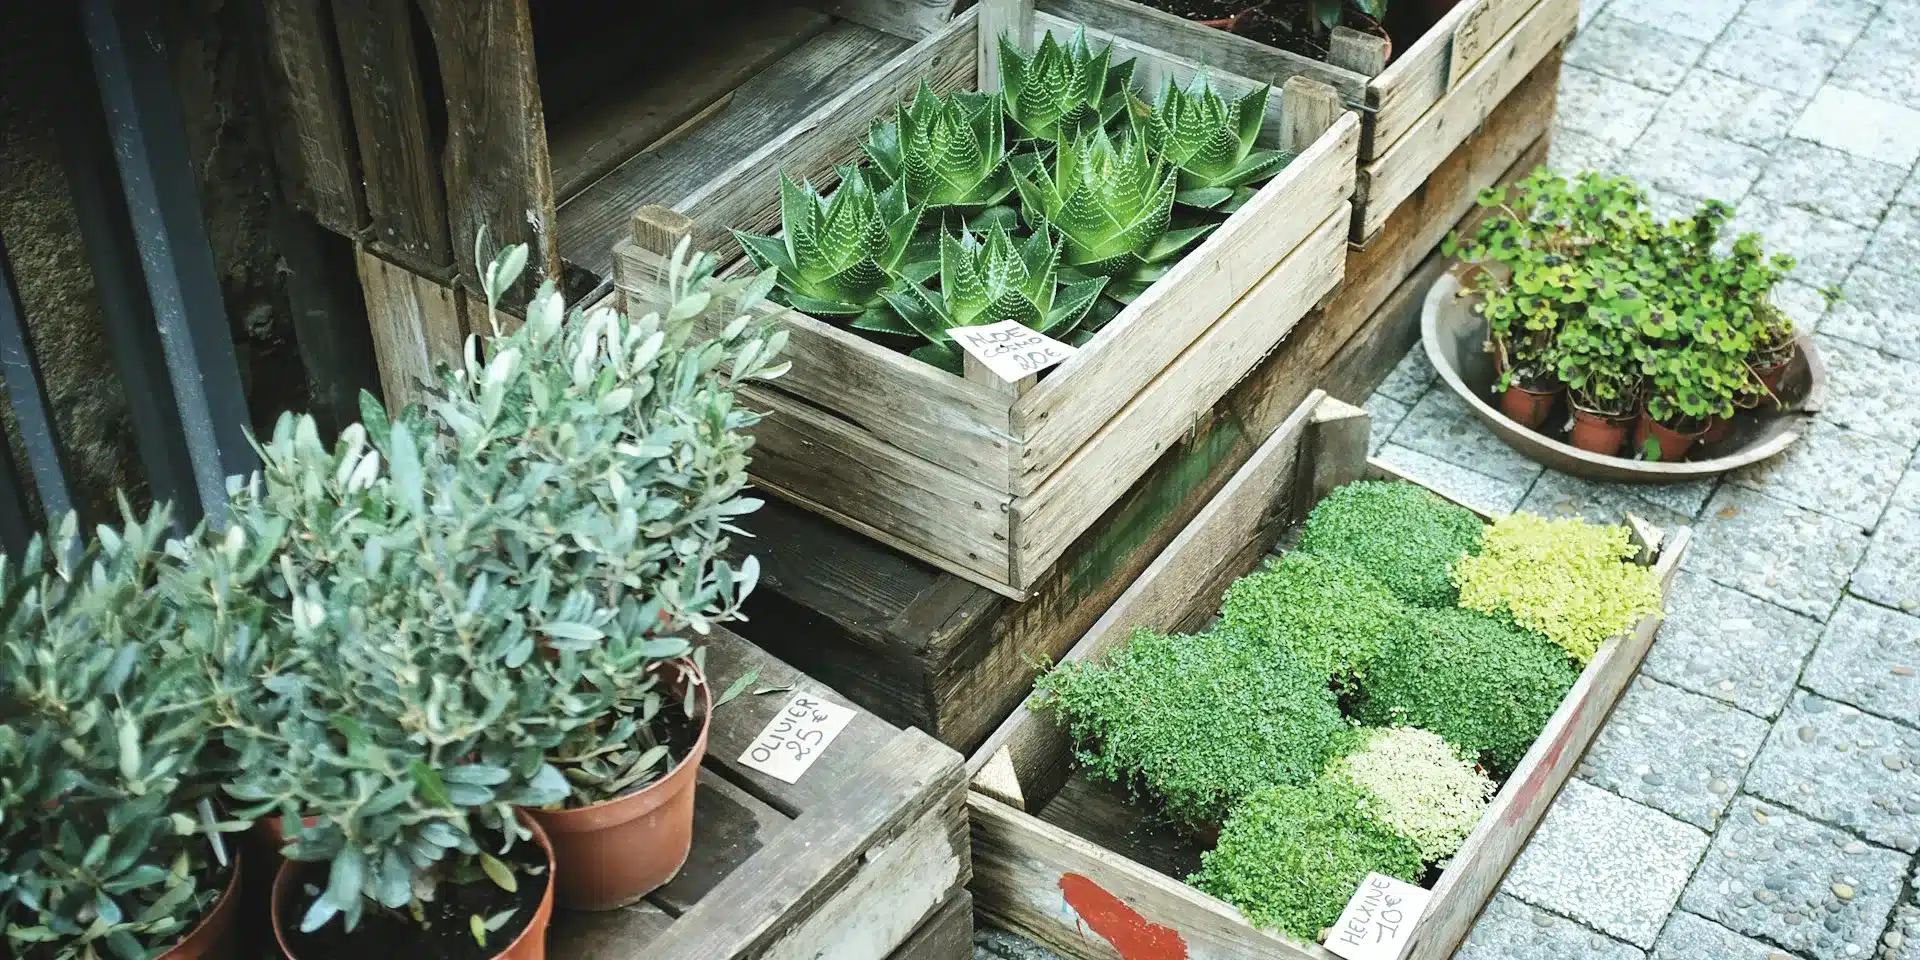
When choosing materials for patio planters, treated wood, composite wood, and natural weather-resistant wood are all ideal options. They have excellent corrosion resistance and can maintain their appearance for a long time. For example: mahogany, cedar, etc.
Tools List
1. Saw
2. Drill
3. Sander
4. Brackets
5. Rust-Resistant Screws
6. Ruler and Pencil
7. Outdoor Paint (for example: Acrylic Paint, Oil-Based Paint, or Outdoor Wood Paint) and Paintbrush
8. Gloves and Safety Goggles
Precautions
1. Wear Protective Gear: When using power tools, ensure you wear safety goggles, gloves, and hearing protection to prevent accidental injuries.
2. Proper Sizing: Design the planter box to fit the planting needs and available space, avoiding sizes that are too large or too small.
3. Smooth Edges: Ensure that the edges and corners of the wood are sanded smooth to prevent sharp edges and protrusions that could cause cuts or scratches.
Step 1: Cutting Wood
When building patio planting boxes, choosing the right dimensions ensures that the structure is both sturdy and attractive. Below are the recommended sizes and board specifications for two common shapes of planting boxes, but you can also adjust the shape and size according to your personal preferences.
Square Planter Box Dimensions:
- Overall Size: 48″ (Length) * 48″ (Width) * 48″ (Height)
- Front and Back Panels (each): 48″ * 48″
- Side Panels (each): 48″ * 48″
- Bottom Panel: 48″ * 48″
Required Cut Wood Strips:
- Wood Strip Dimensions: 6″ wide * 1″ thick
- Front and Back Panels: 8 pieces * 2 = 16 pieces
- Side Panels: 8 pieces * 2 = 16 pieces
- Bottom Panels: 8 pieces
- Total Number of Wood Panels: 16 pieces + 16 pieces + 8 pieces = 40 pieces
Rectangular Planter Box Dimensions:
- Overall Size: 72″ (Length) * 36″ (Width) * 36″ (Height)
- Front and Back Panels (each): 72″ * 36″
- Side Panels (each): 36″ * 36″
- Bottom Panel: 72″ * 36″
Required Cut Wood Strips:
- Wood Strip Dimensions: 6 inches wide * 1 inch thick
- Front and back panels: 6 pieces * 2 = 12 pieces
- Side panels: 6 pieces x 2 = 12 pieces
- Bottom panels: 12 pieces
- Total number of boards: 12 + 12 + 12 = 36 pieces
Step 2 : Assemble Panels
First, drill holes in each wooden piece and then attach the corresponding number of strips together to form a panel. Based on the design plans, determine the correct position of the four panels on the frame. Mark the screw locations on each panel and the frame, ensuring the marking points are evenly spaced to secure each panel firmly to the frame.
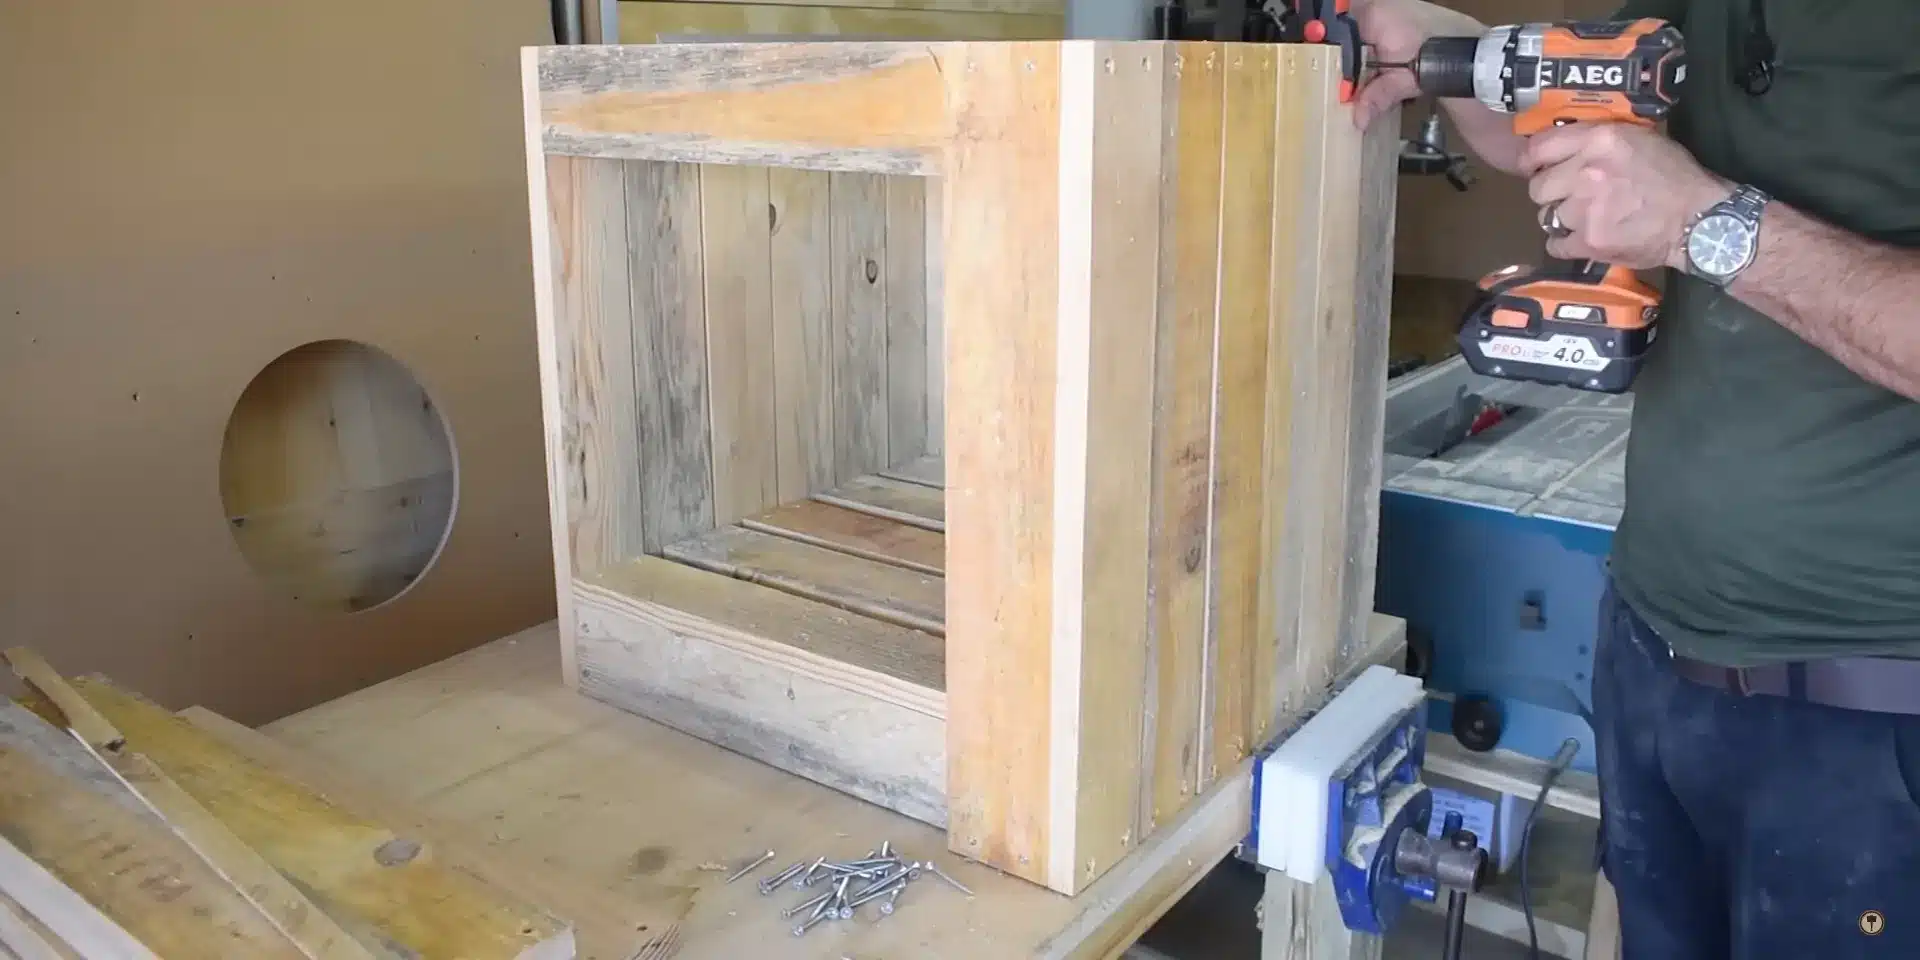
Next, align each panel with the marked points, making sure they are flush with the edges of the frame. Use a power drill or screwdriver to drive the screws into the marked locations one by one. Ensure that the screws are perpendicular to the panel to avoid splitting the wood or warping the panel.
Finally, verify that all screws are securely installed with no loose spots. Check that each panel is level and vertical, and ensure there are no gaps.
This operation video that might be helpful to you:
Step 3 : Connect the Base
After fixing the base plate to the bottom of the planting box, use an electric drill to drill several drainage holes in the base plate. These holes should be positioned either in the center or around the perimeter of the base. The orifice diameter should be between 1 and 2 cm to ensure effective drainage. The orifice spacing can be adjusted according to actual needs.
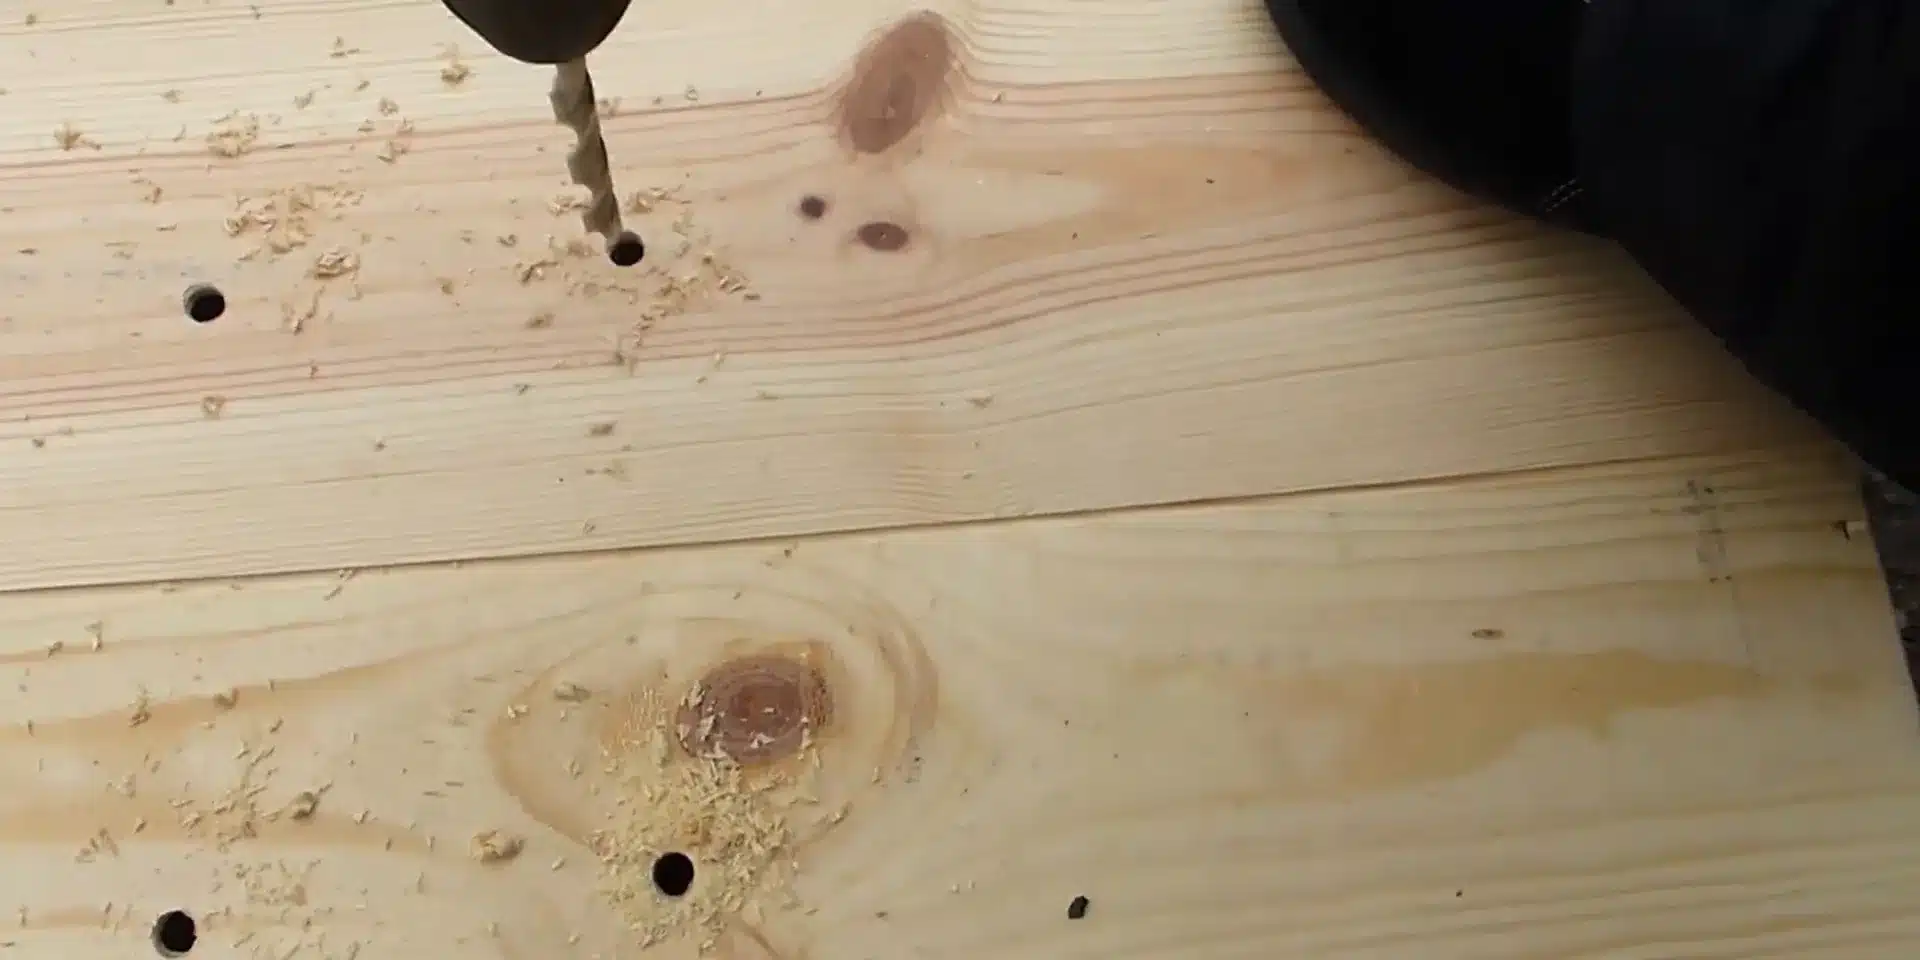
Finally, add a drainage layer beneath the bottom board, such as small stones, gravel, or a specialized drainage mat. This will further enhance drainage and prevent soil from blocking the drainage holes.
Step 4 : Reinforce the Frame
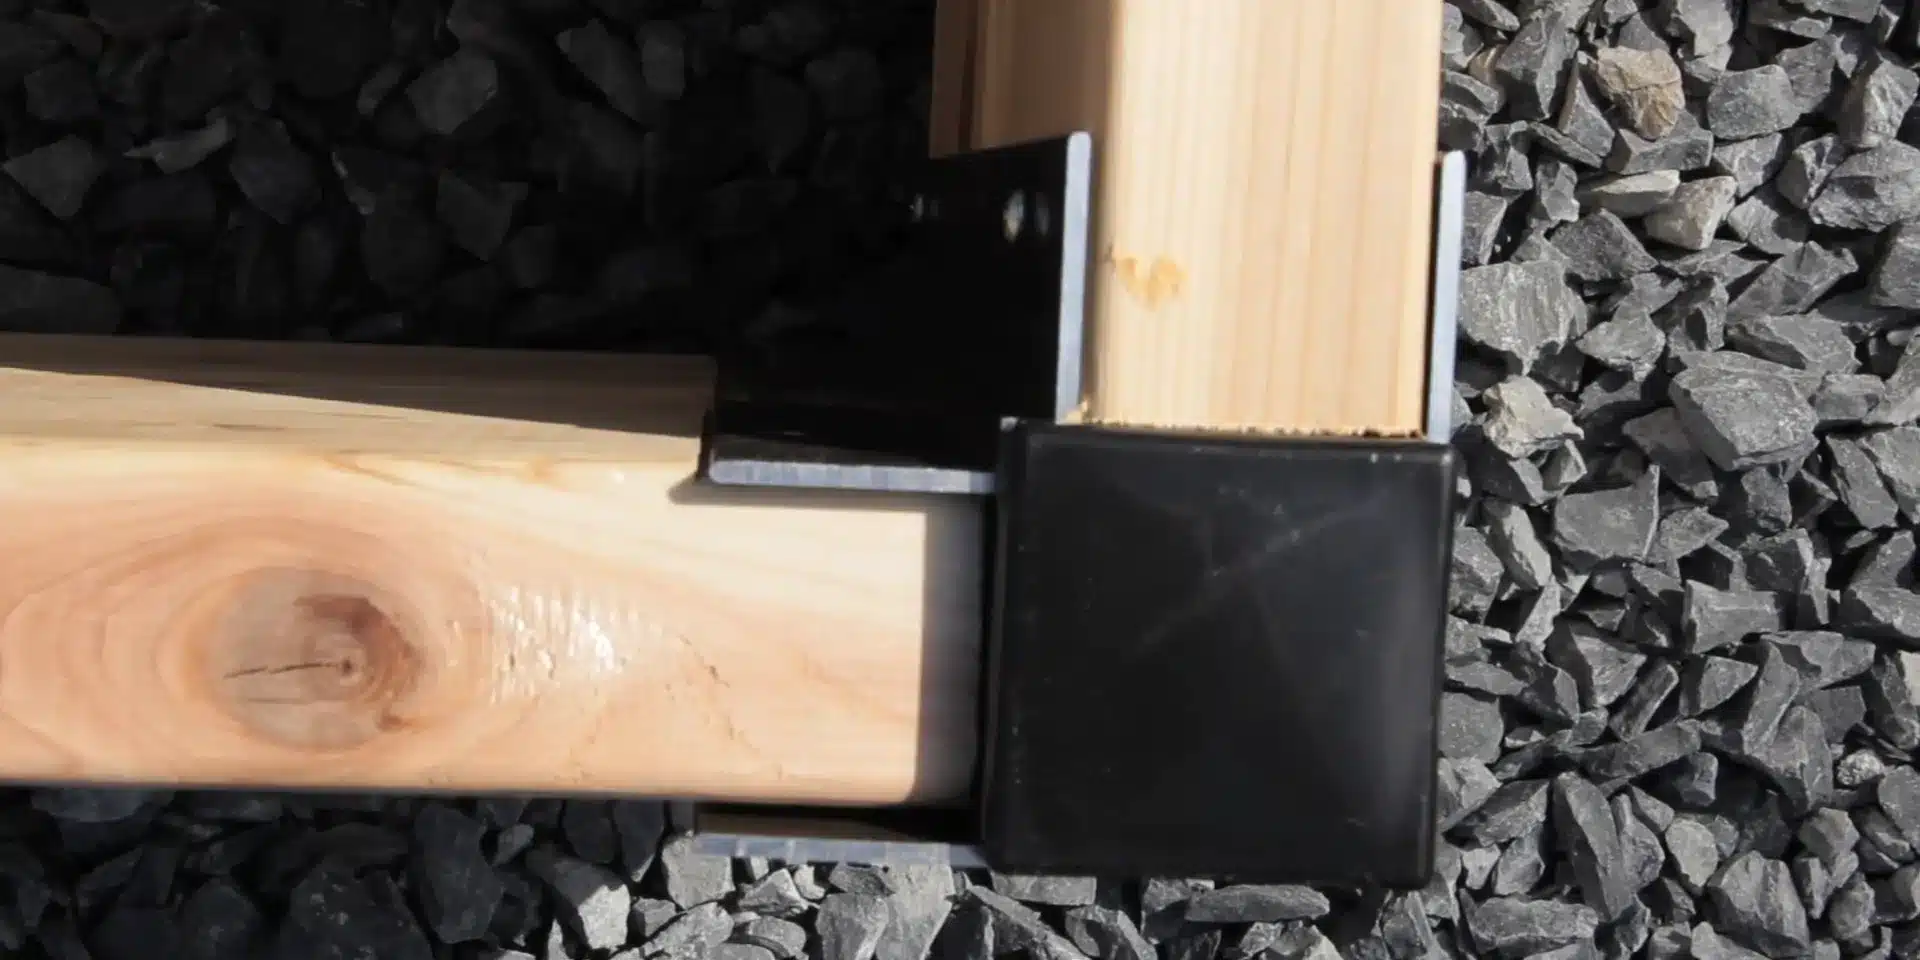
After the initial installation is complete, we need to reinforce the existing frame. Before reinforcing, recheck all connection points and planter box structures to ensure all components are correctly installed and that no parts are loose or misaligned.
1. Install Angle Brackets: Use screws to secure the angle brackets at the corners of the box. Ensure that the angle brackets are in close contact with the box surfaces to provide additional support.
2. Reinforce the Bottom: Attach wooden or metal strips vertically to the bottom panel to create an enhanced support structure. Ensure these strips are evenly distributed to help distribute the weight.
Step 5: Sanding
Wipe the surface of the flower box with a damp cloth to remove dust and dirt, and let it dry.
Next, sand the surface of the flower box with coarse sandpaper (80 grit). Ensure the entire surface is sanded evenly. Please pay special attention to the edges and corners, and remove any splinters or uneven areas.
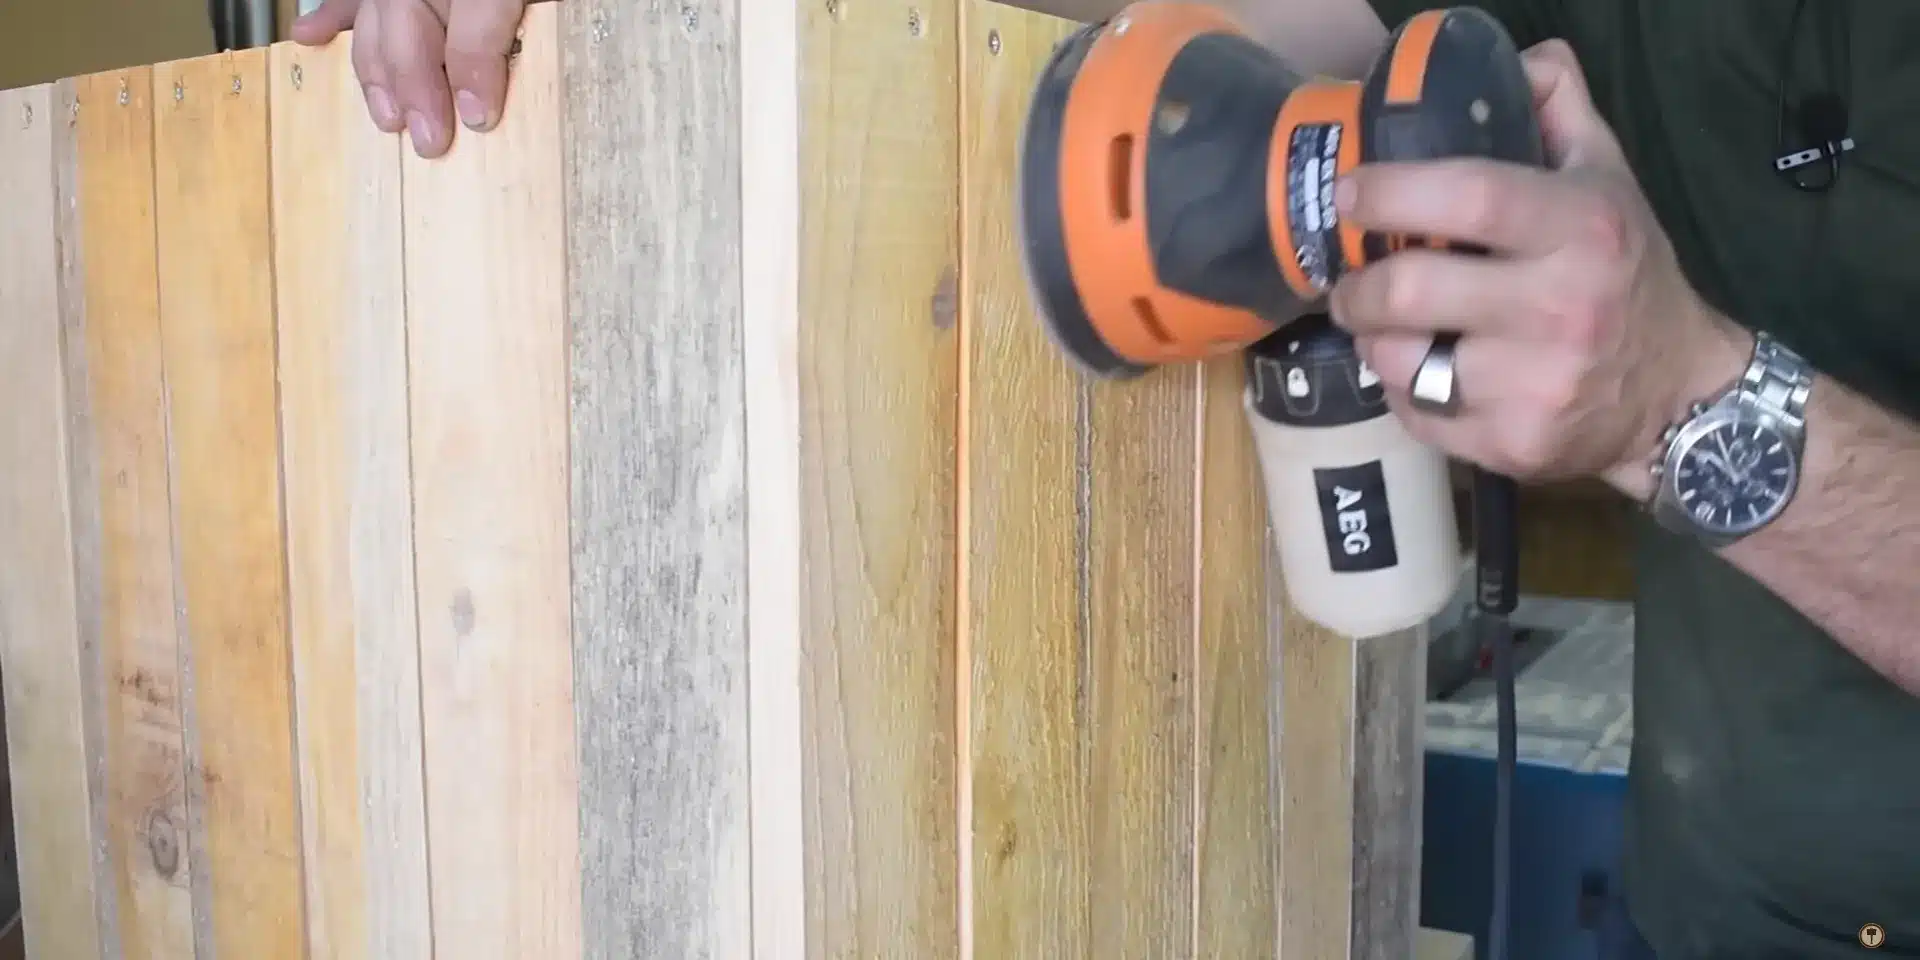
After coarse sanding, switch to finer sandpaper (such as 120 grit or finer) to continue sanding to further smooth the surface and remove the marks left by the coarse sandpaper.
Finally, use a vacuum cleaner or a clean cloth to thoroughly remove dust from the surface to ensure good coating adhesion.
Step 6: Finishing
Use a brush, roller, or spray gun to apply the protective coating or preservative evenly to all surfaces. When applying the coating, the thickness should not be too thick to avoid dripping. Pay special attention to the edges and corners to ensure that these areas are fully covered.
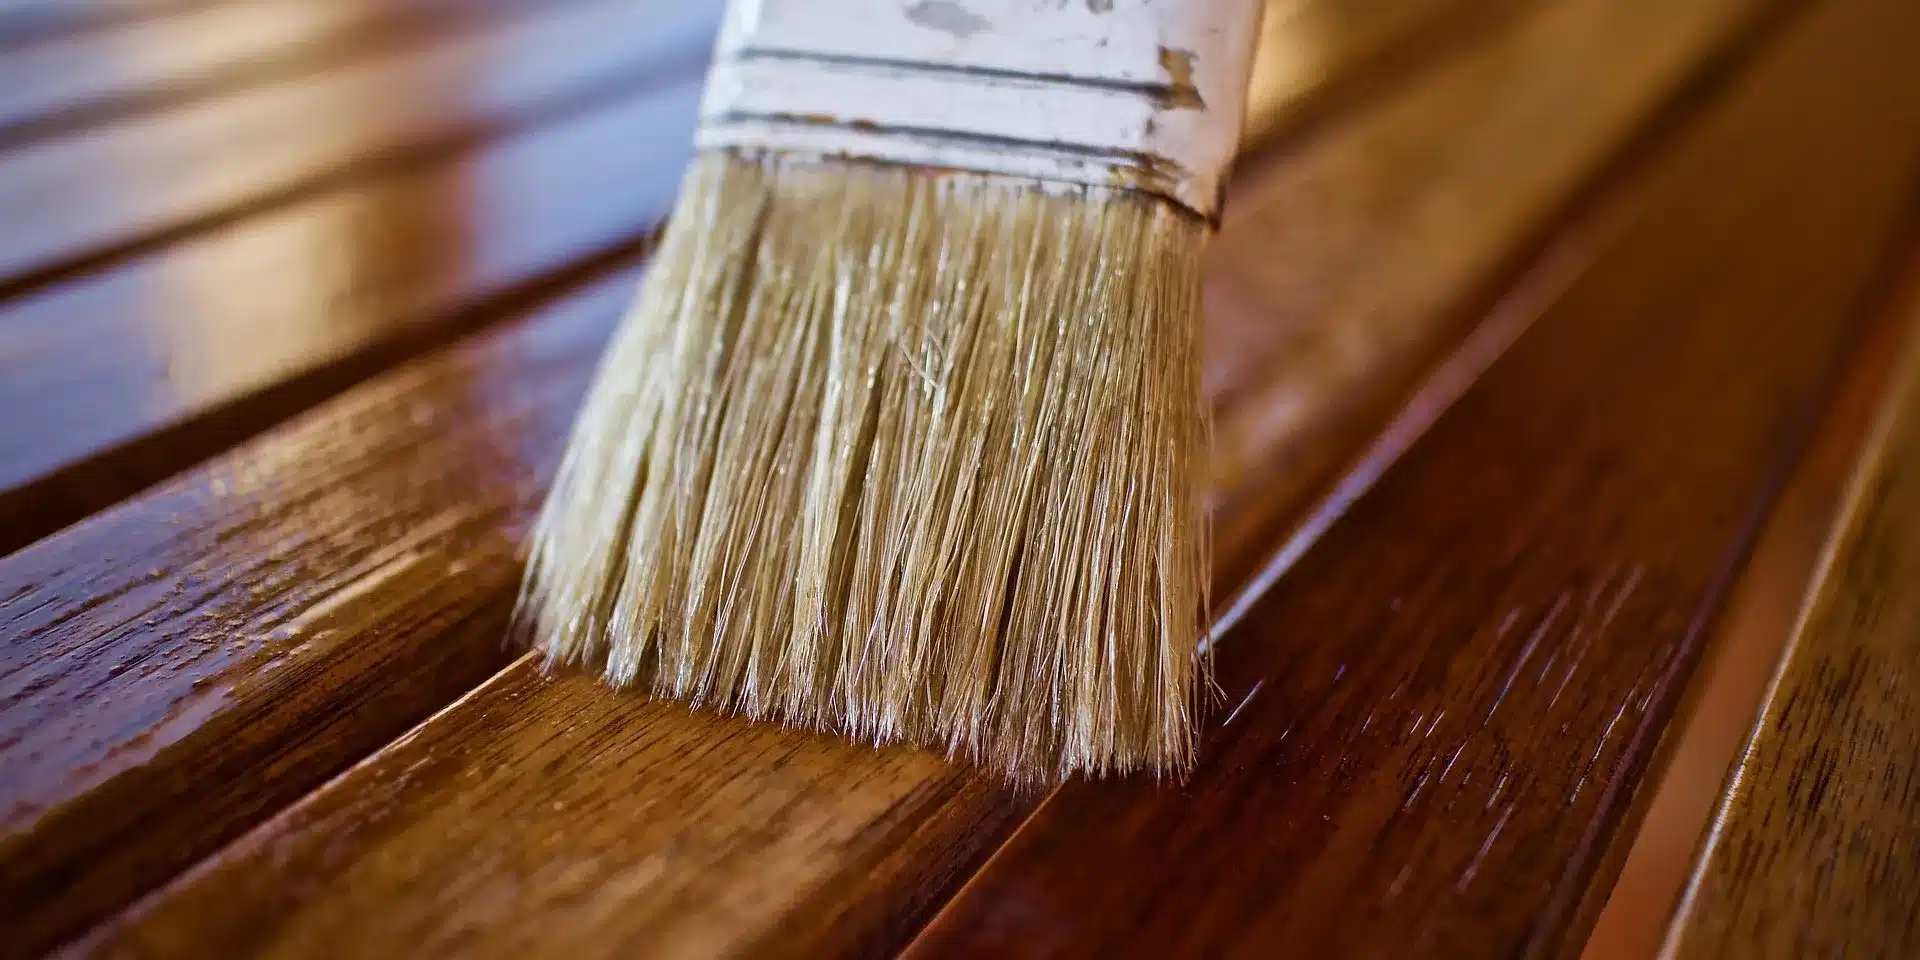
After the paint has completely dried, apply a second protective coating to enhance durability. Finally, use a clean cloth or vacuum cleaner to thoroughly remove dust from the surface.
How to Decorate Your New Planter Box
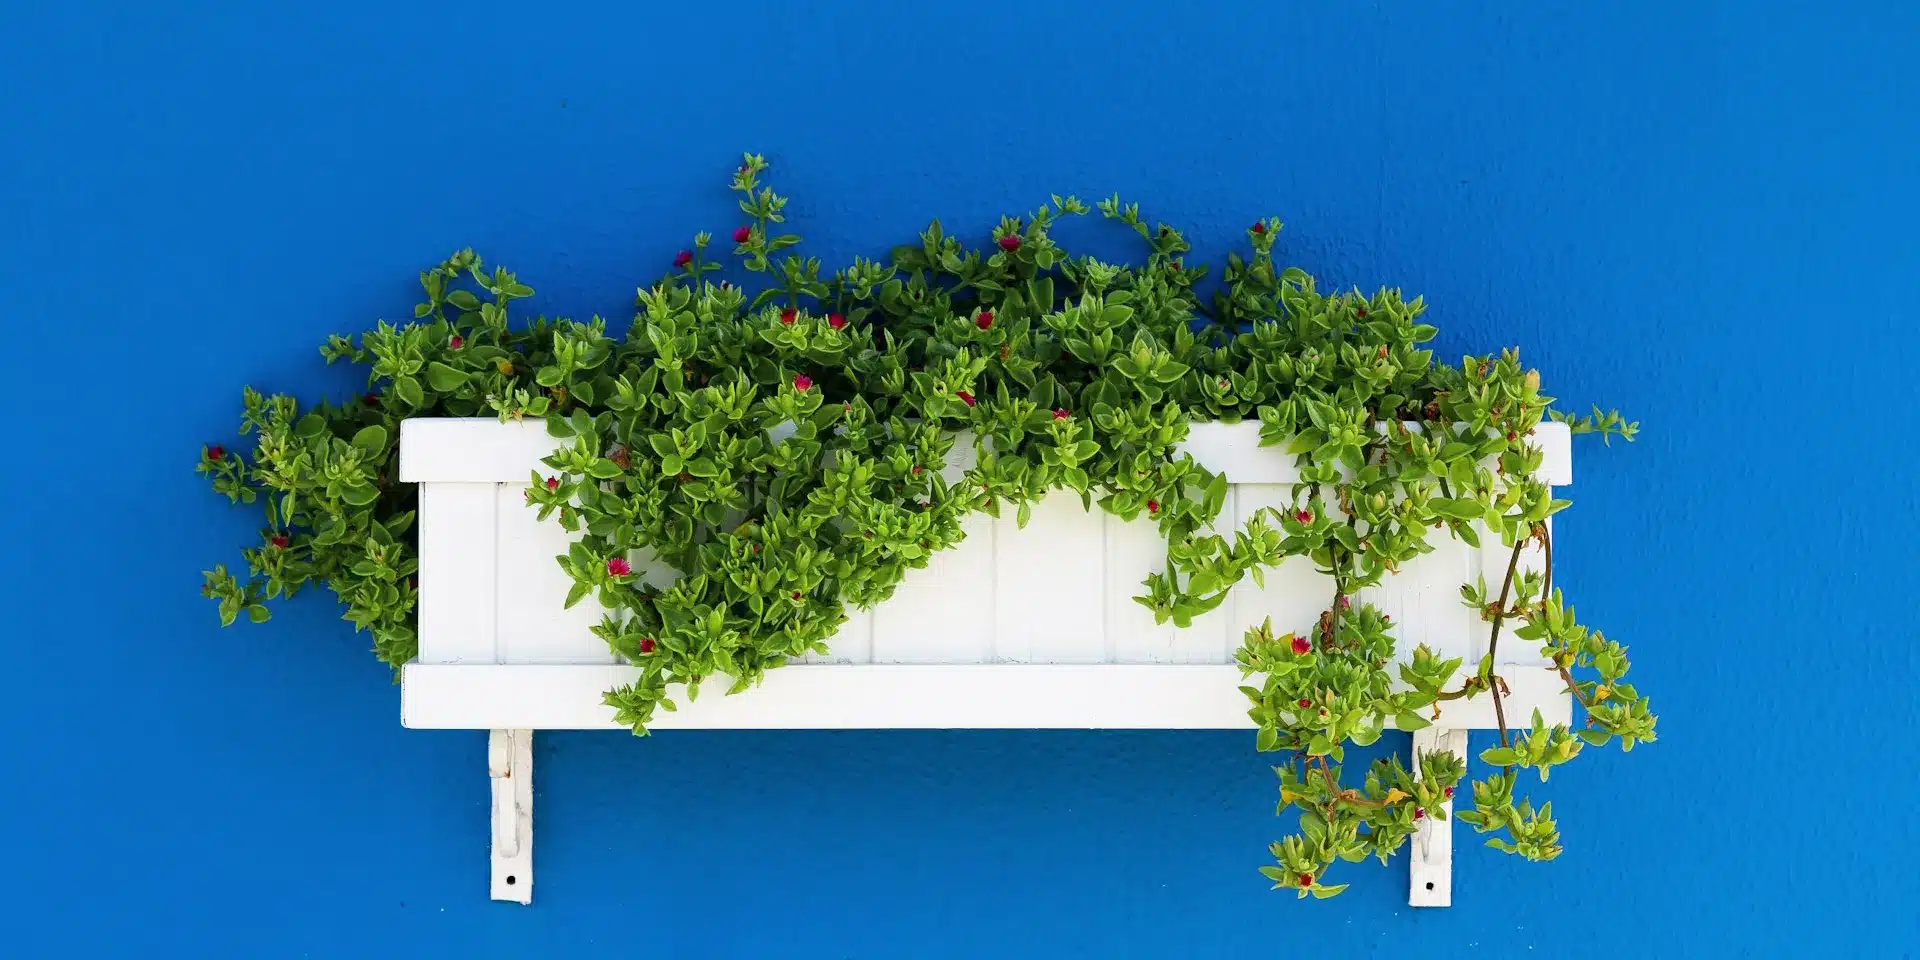
After completing your DIY project, get inspiration from these decorative flower box ideas to make them a highlight of your patio space.
- Brush Painting: Before painting, ensure the brush is clean and free of any residue. During application, use the brush to evenly apply the paint to the planter box surface, working along the wood grain to avoid brush marks. After painting, allow the coating to dry completely according to the paint’s drying time instructions, typically requiring several hours to a day.
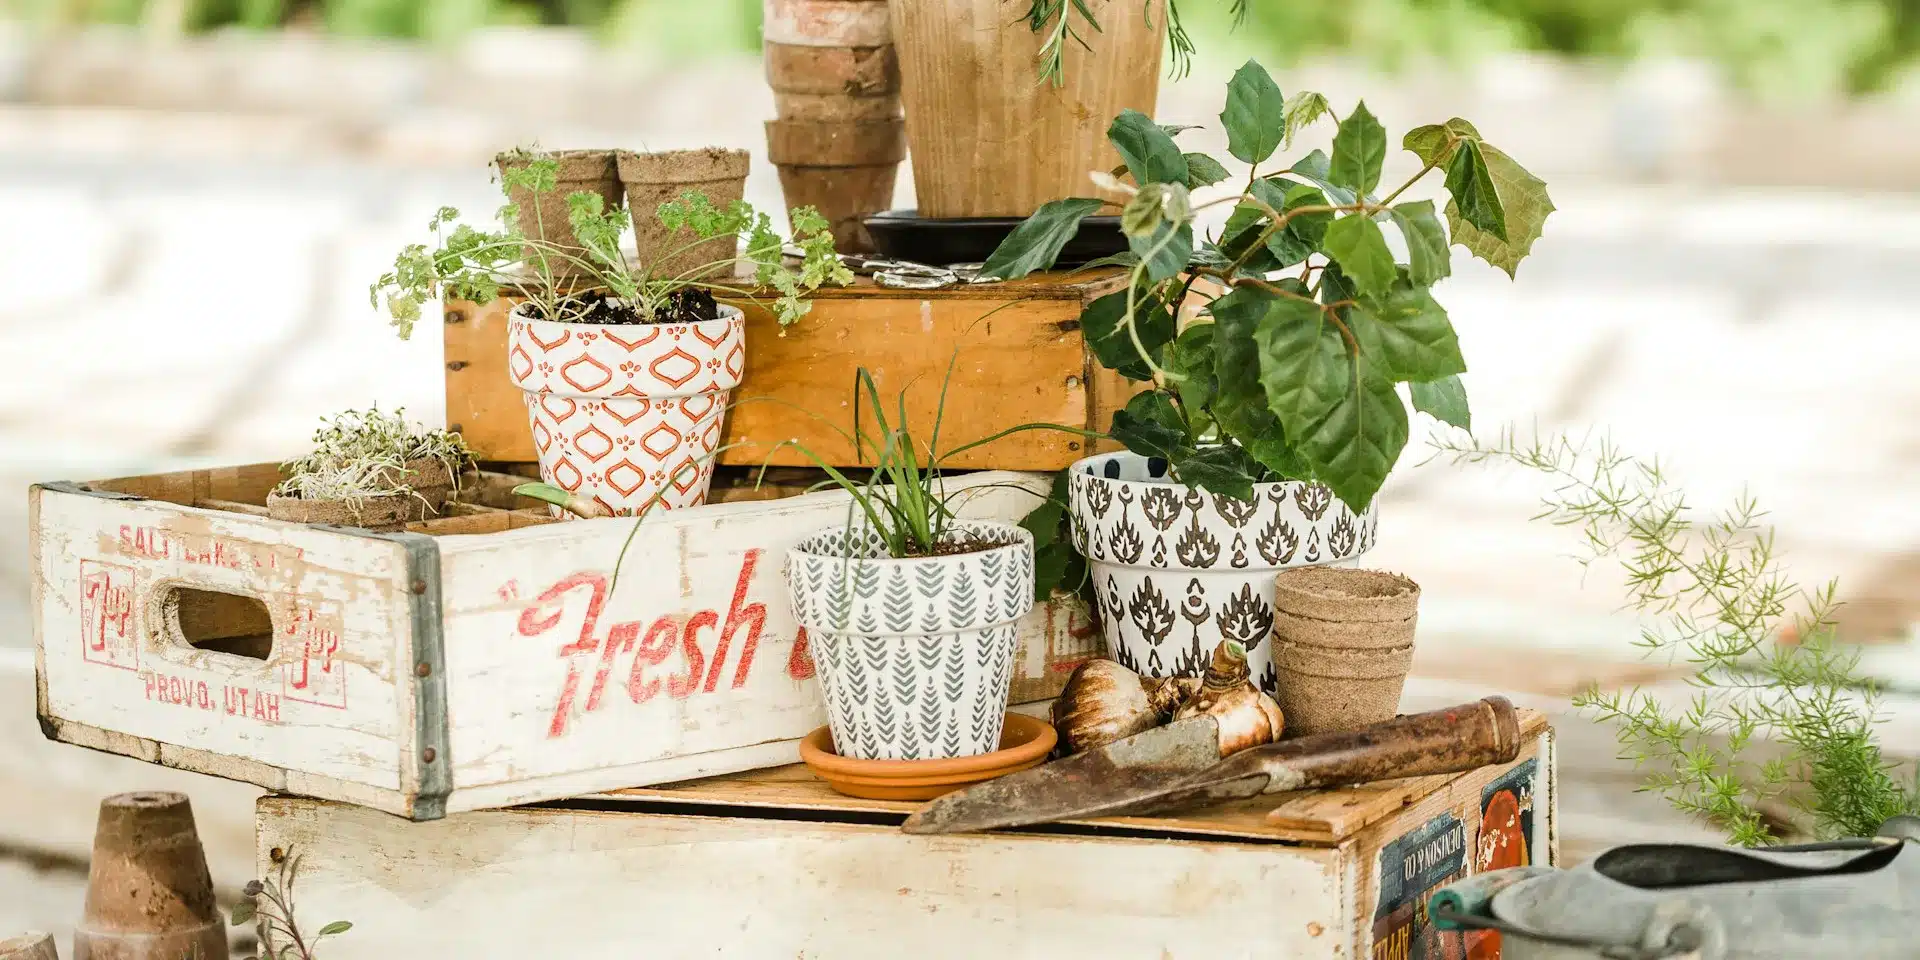
- Add Decorative Items: You can place decorative planter trays or small stones on top of the planter box, or hang small ornaments such as wind chimes, decorations, or small flower baskets on the edges of the planter box.