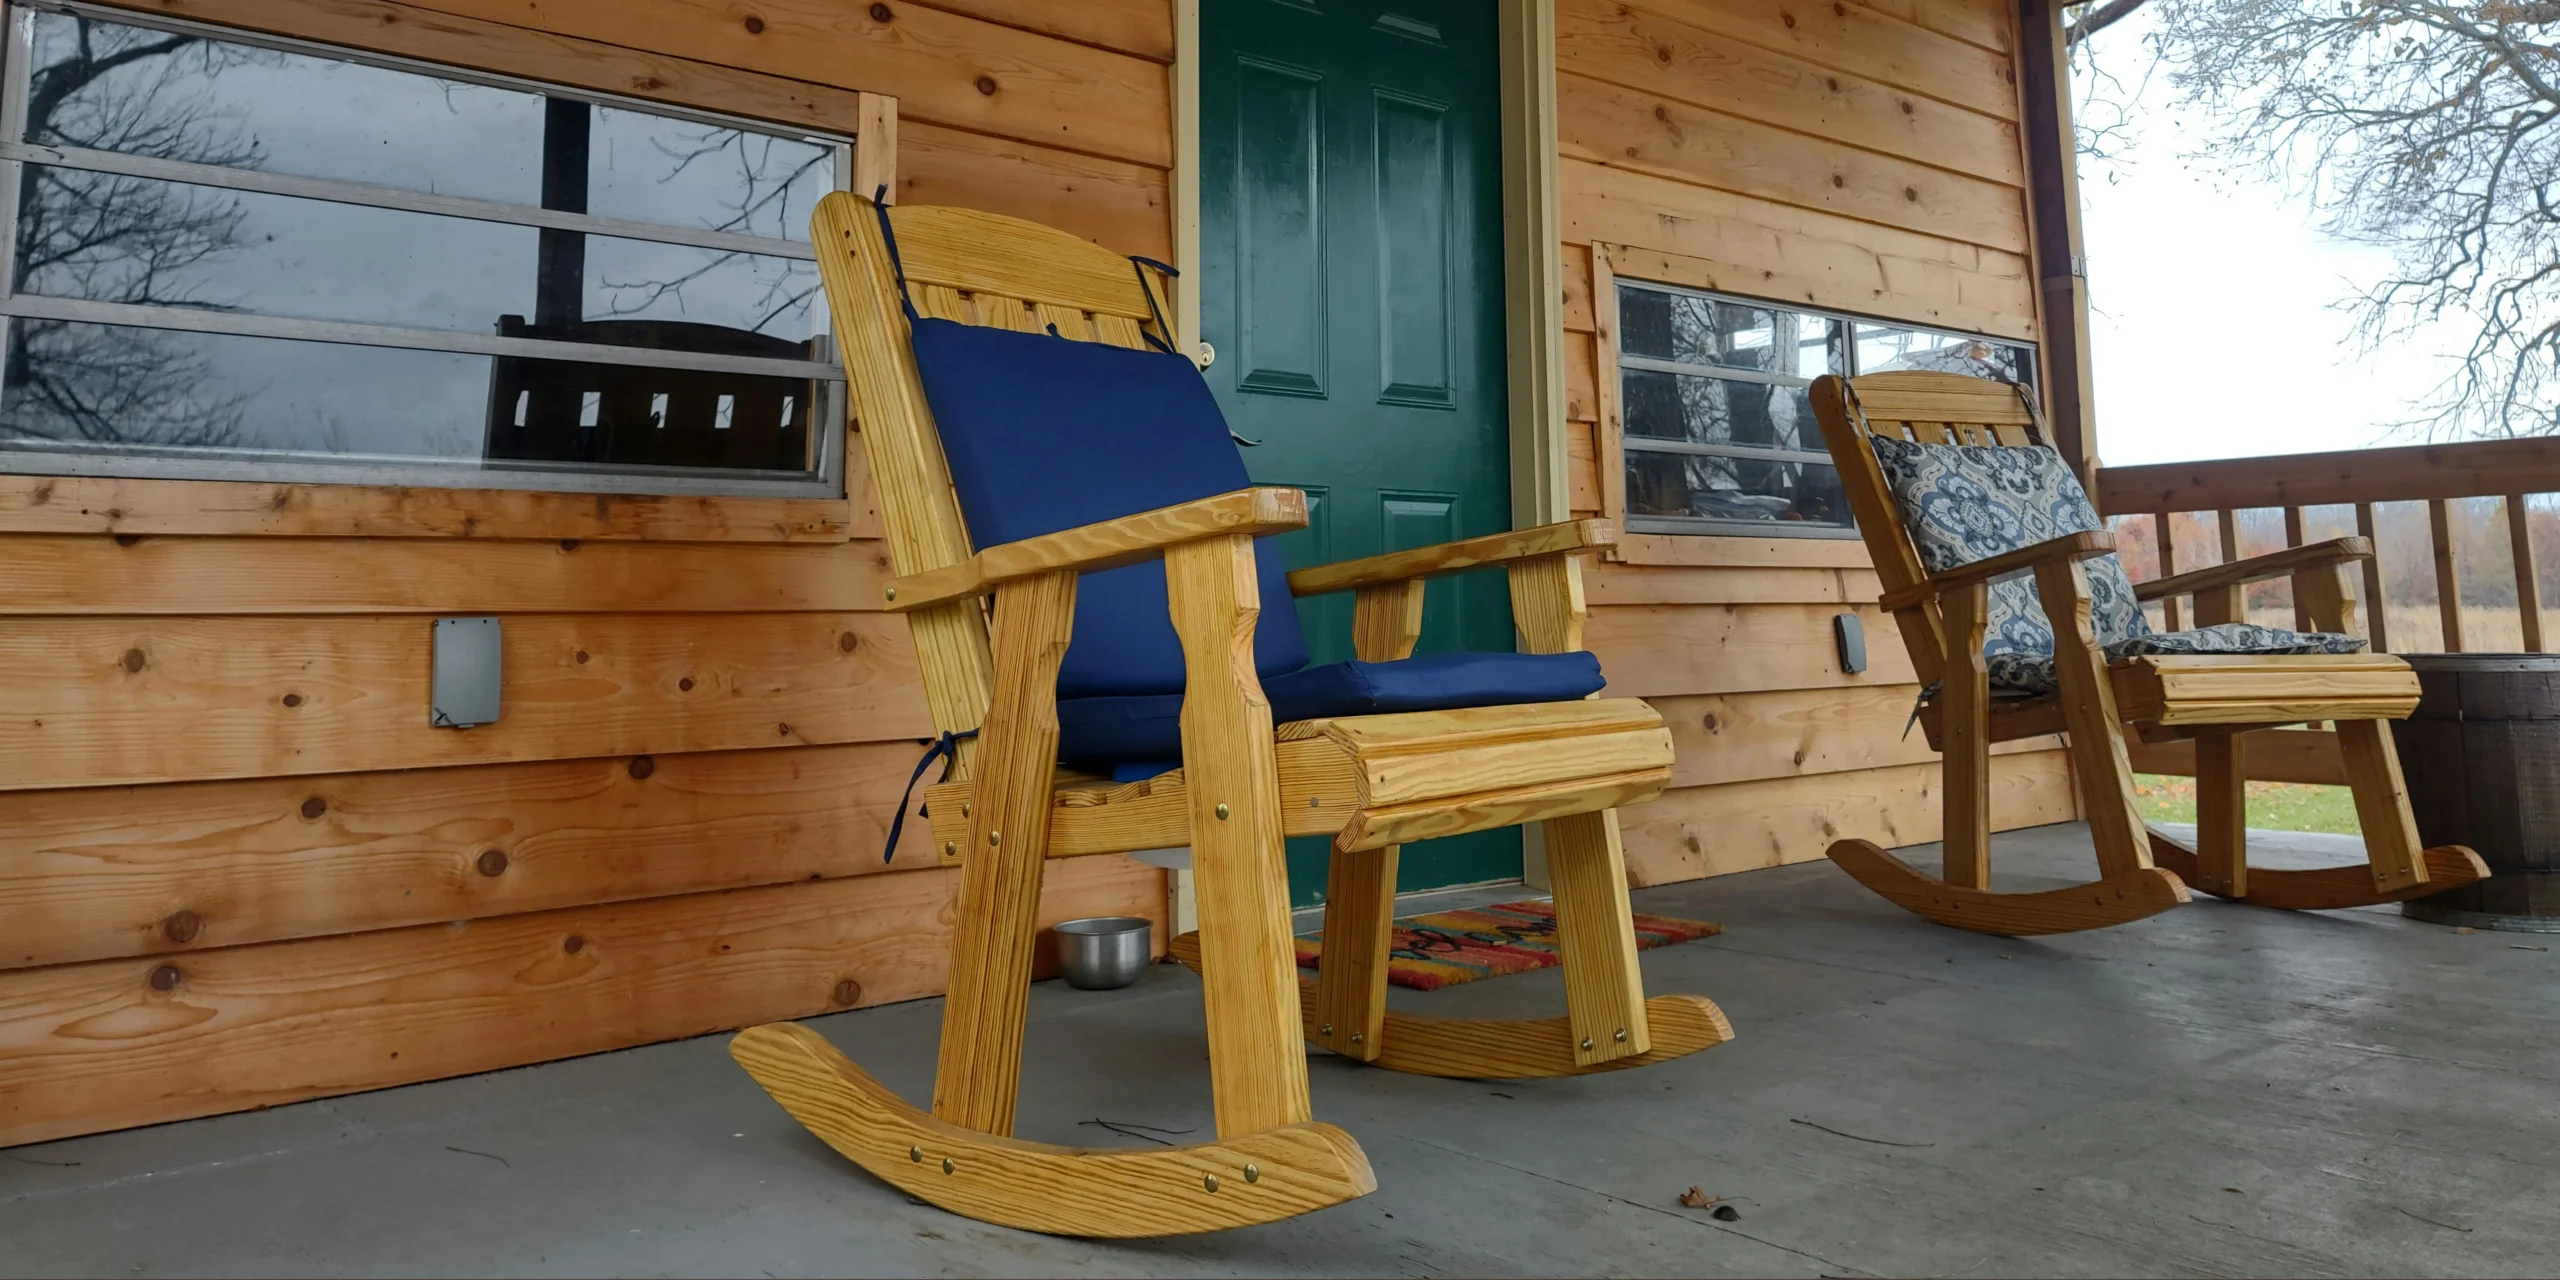
Rocking chairs are a symbol of relaxation on porches and patios, providing lasting comfort and enjoyment. However, DIY a rocking chair is not easy. Without detailed instructions, it may take several days to complete. How to build a rocking chair efficiently? We’ve prepared a step-by-step guide, from tool and material lists to assembly. Whether you’re a beginner or a seasoned woodworker, this guide will help you.
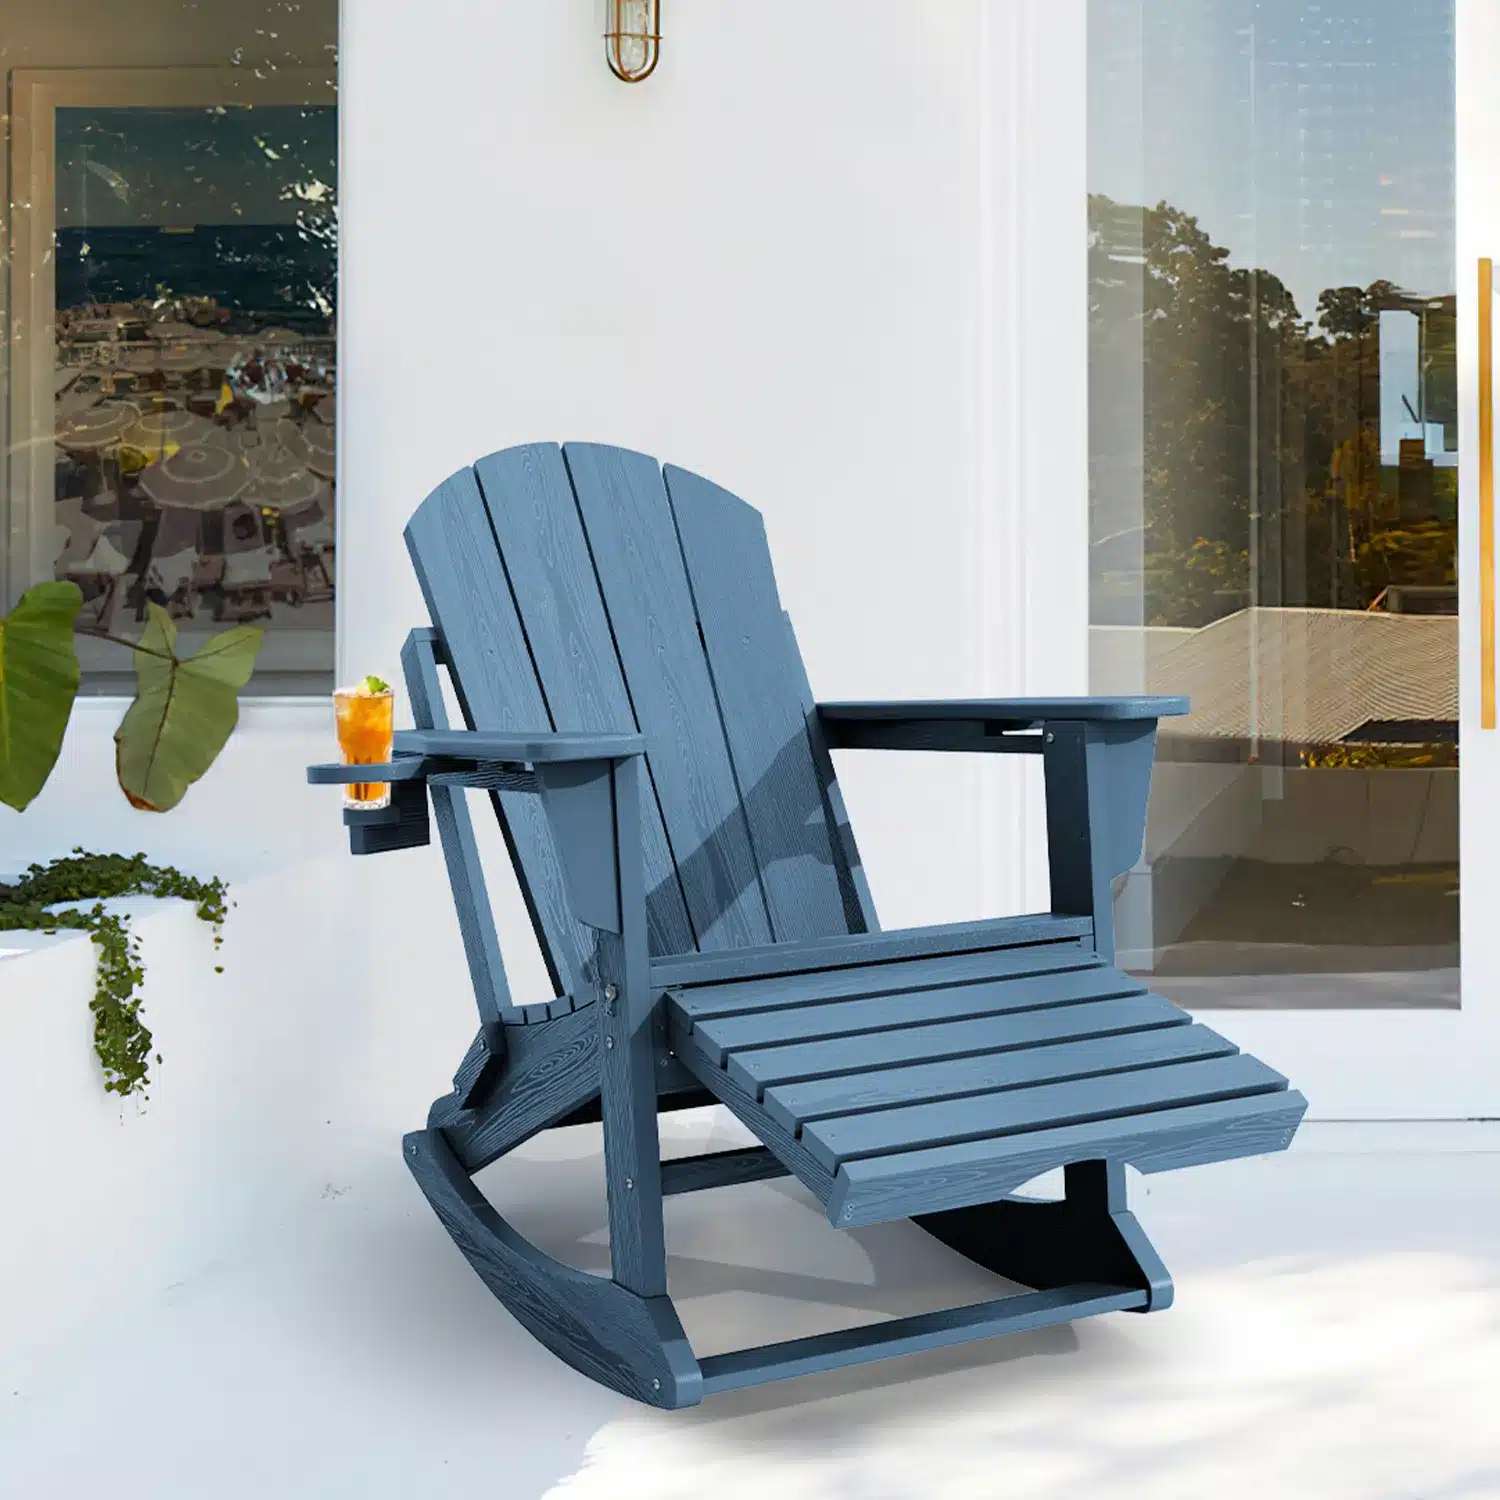
If you think that DIY rocking chair is too much effort, why not consider purchasing an outdoor rocking chair instead? Spend a little money to free your hands and enjoy rocking on your porch with ease.
Preparation: List of Tools and Materials Needed
- Band Saw
- Jig
- Hand Saw
- Chisel
- Jig Saw
- Wood
- Wood Glue
- Drill Bit
- Wood Screws
- Sandpaper
- Pain
Step-by-Step Guide: How to Build a Rocking Chair?
Before we start making the rocking chair, let’s watch a video. This video covers the entire production process, which will be helpful for our next work.
Step 1: Prepare the Curved Rocker
First, take a piece of wood and cut a symmetrical curve on one side. Then prepare 6 wooden strips of equal size and glue them together. Put the glued strips on the curved side of the wood. Use a jig to apply pressure until the strips conform to the curve. Wait a few minutes, then release the jig. Your curved rocker is now complete. Repeat this process for the second rocker.
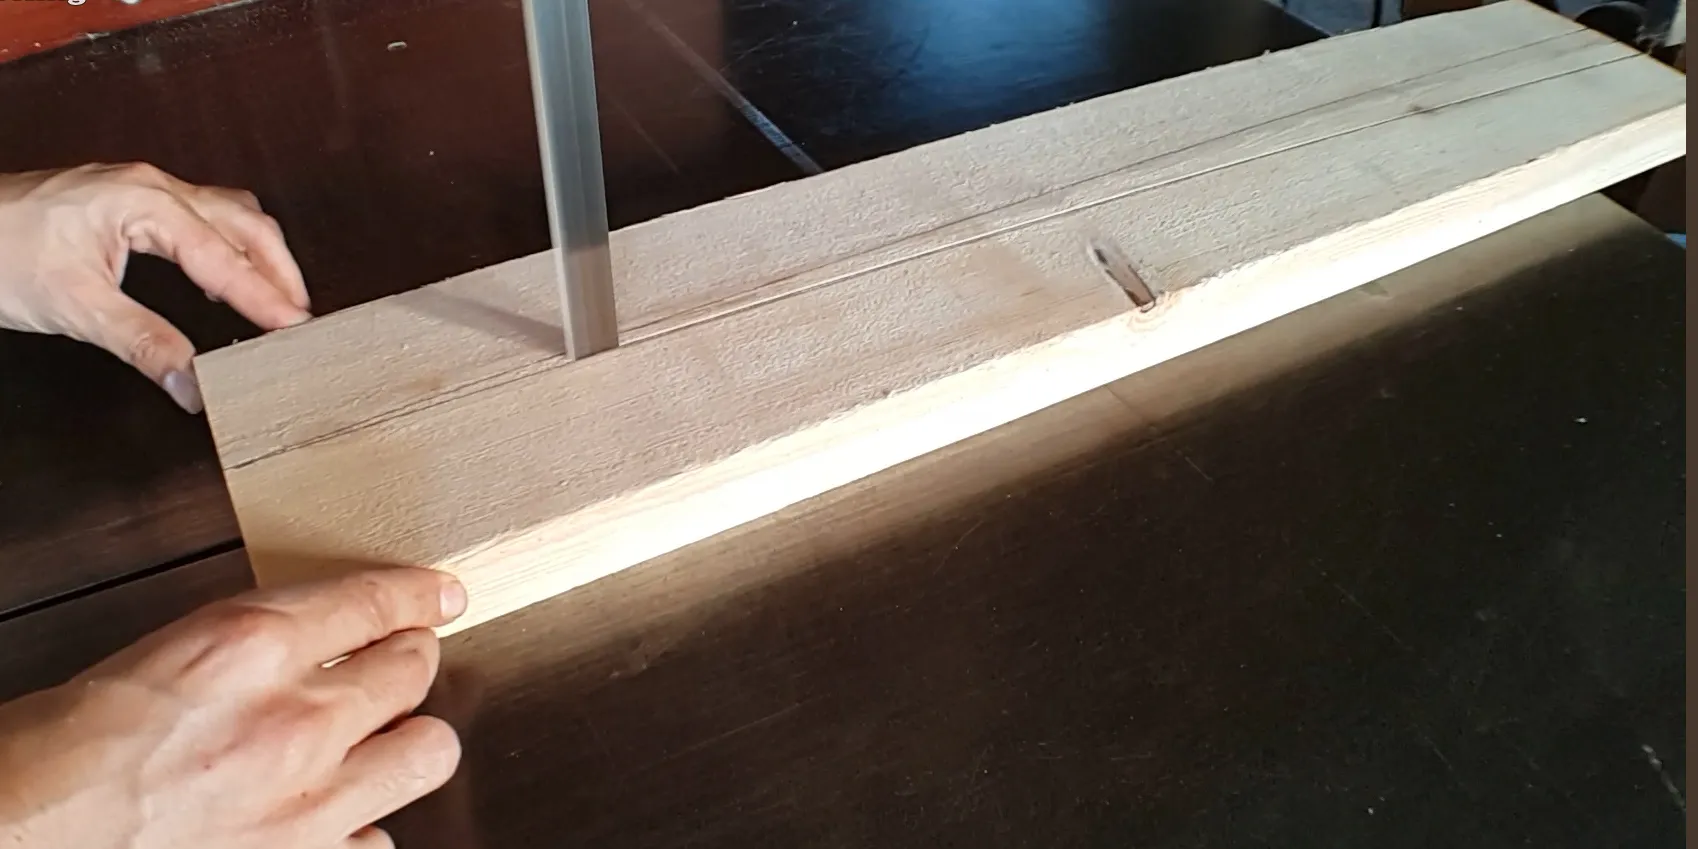
Step 2: Cut the Legs and Seat Support
Prepare 4 pre-cut pieces of wood for the chair legs, measuring 80 x 2.5 x 7 cm. To ease assembly with the rocker, use a bandsaw to create a tenon on one end of the leg. This tenon should fit in the mortise on the rocker.
Now that the legs are ready, it’s time to create the seat supports. Use a chisel to carve a mortise in the middle of each leg for seat supports. After attaching the legs to the rockers, measure the distance between them. Then, cut two equal lengths of wood for the seat supports. Each piece of wood will require two tenons on each side. The tenons should fit in the mortises on the legs.
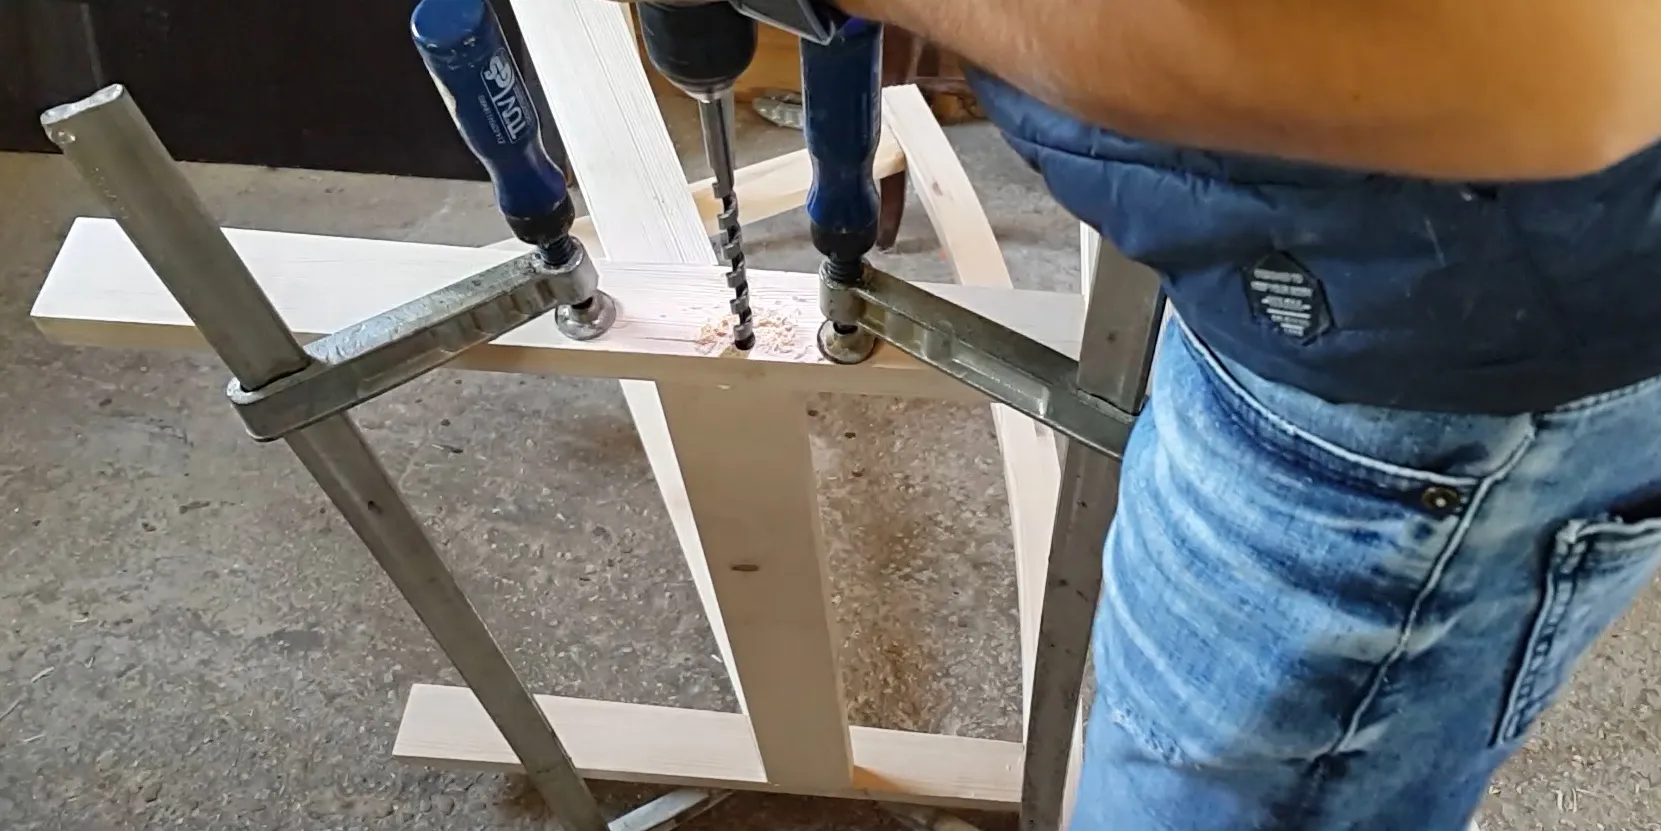
Step 3: Assemble Frame and Add Suppot Rails
Before assembly, we first use a hammer and chisel to make 2 mortises at both ends of each rocker. The mortises need to be 5 cm from the edge of the rocker. Then, connect the tenons of the four chair legs to the mortises of the rocker to complete the installation. Use a hammer to drive the seat supports into the mortises of the legs.
To further strengthen the rocking chair, we need to prepare two support rails. Use 10mm dowels to nail the support rails into the front and back of the chair legs. A total of 4 dowels are needed.
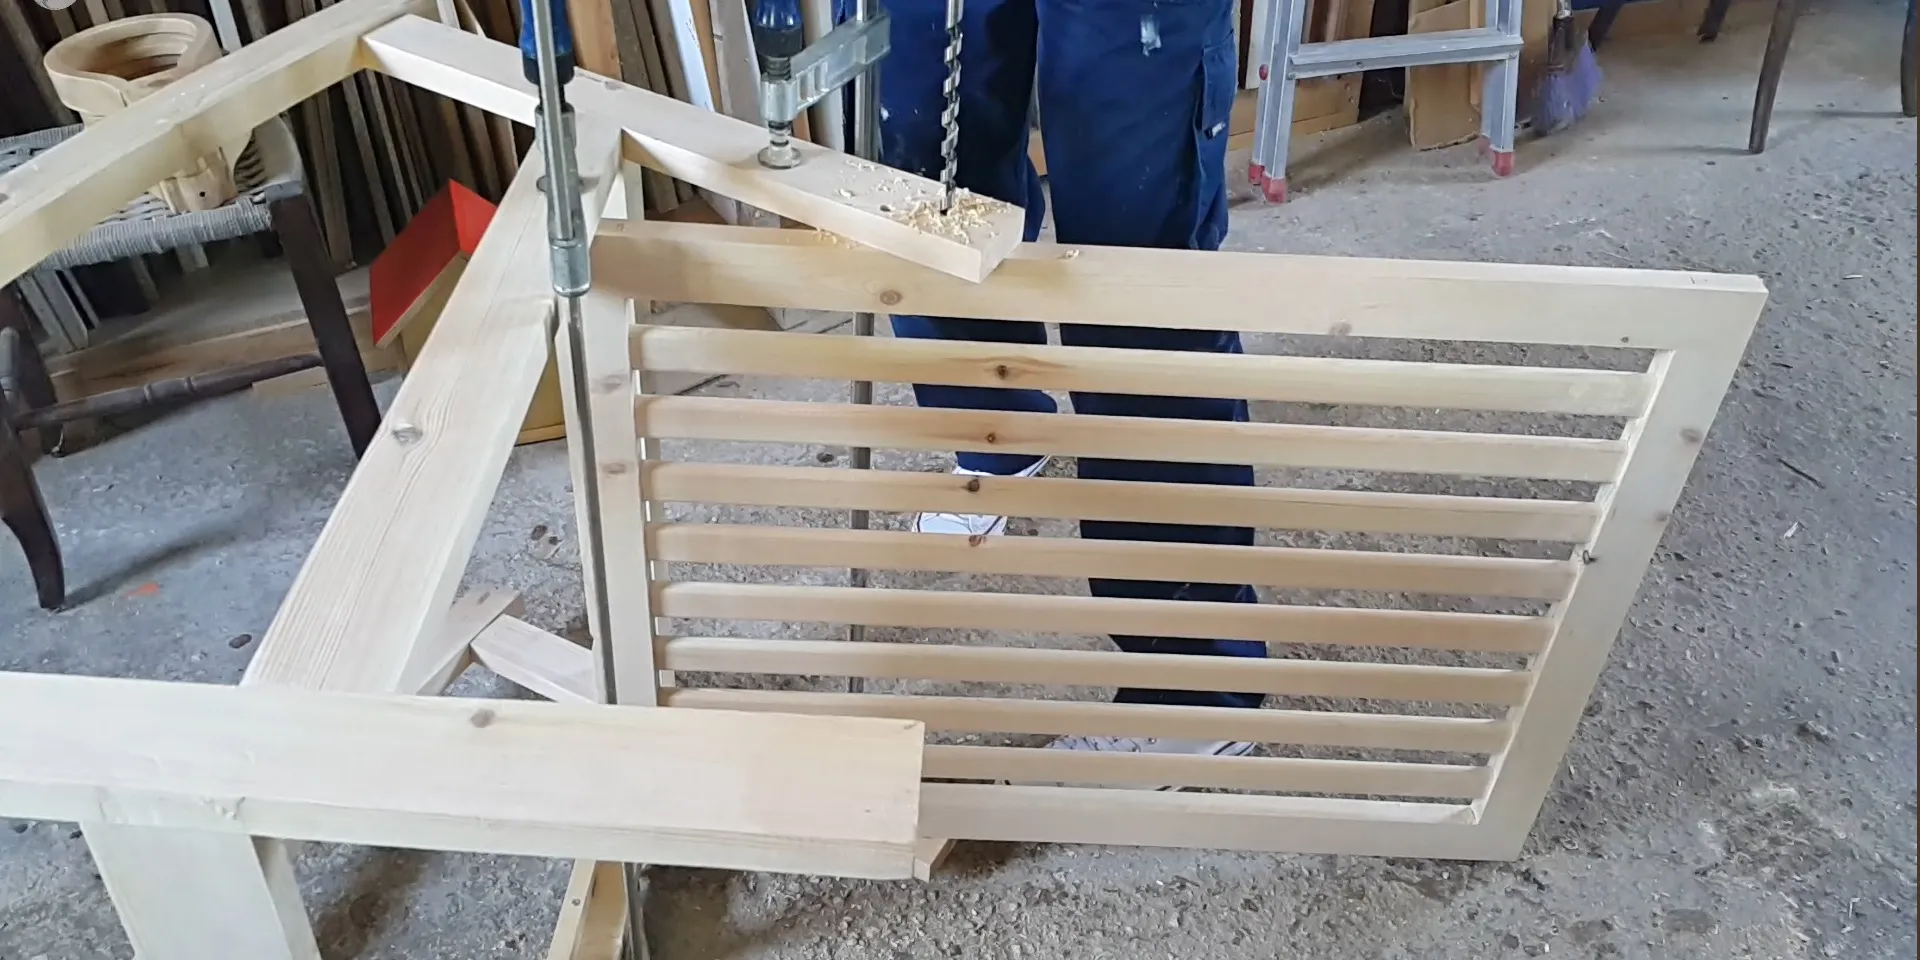
Step 4: Attach the Backrest
For the backrest, I chose a slatted design. I first built a frame and left slots at the top and bottom for the slats. For the slats, I prepared 8 0.8 x 4.0 x 73 cm strips of wood and sanded them into rounded shapes at the top and bottom to fit into the frame. Finally, I used a power drill to nail the finished backrest into the seat supports and legs. The backrest was now installed.
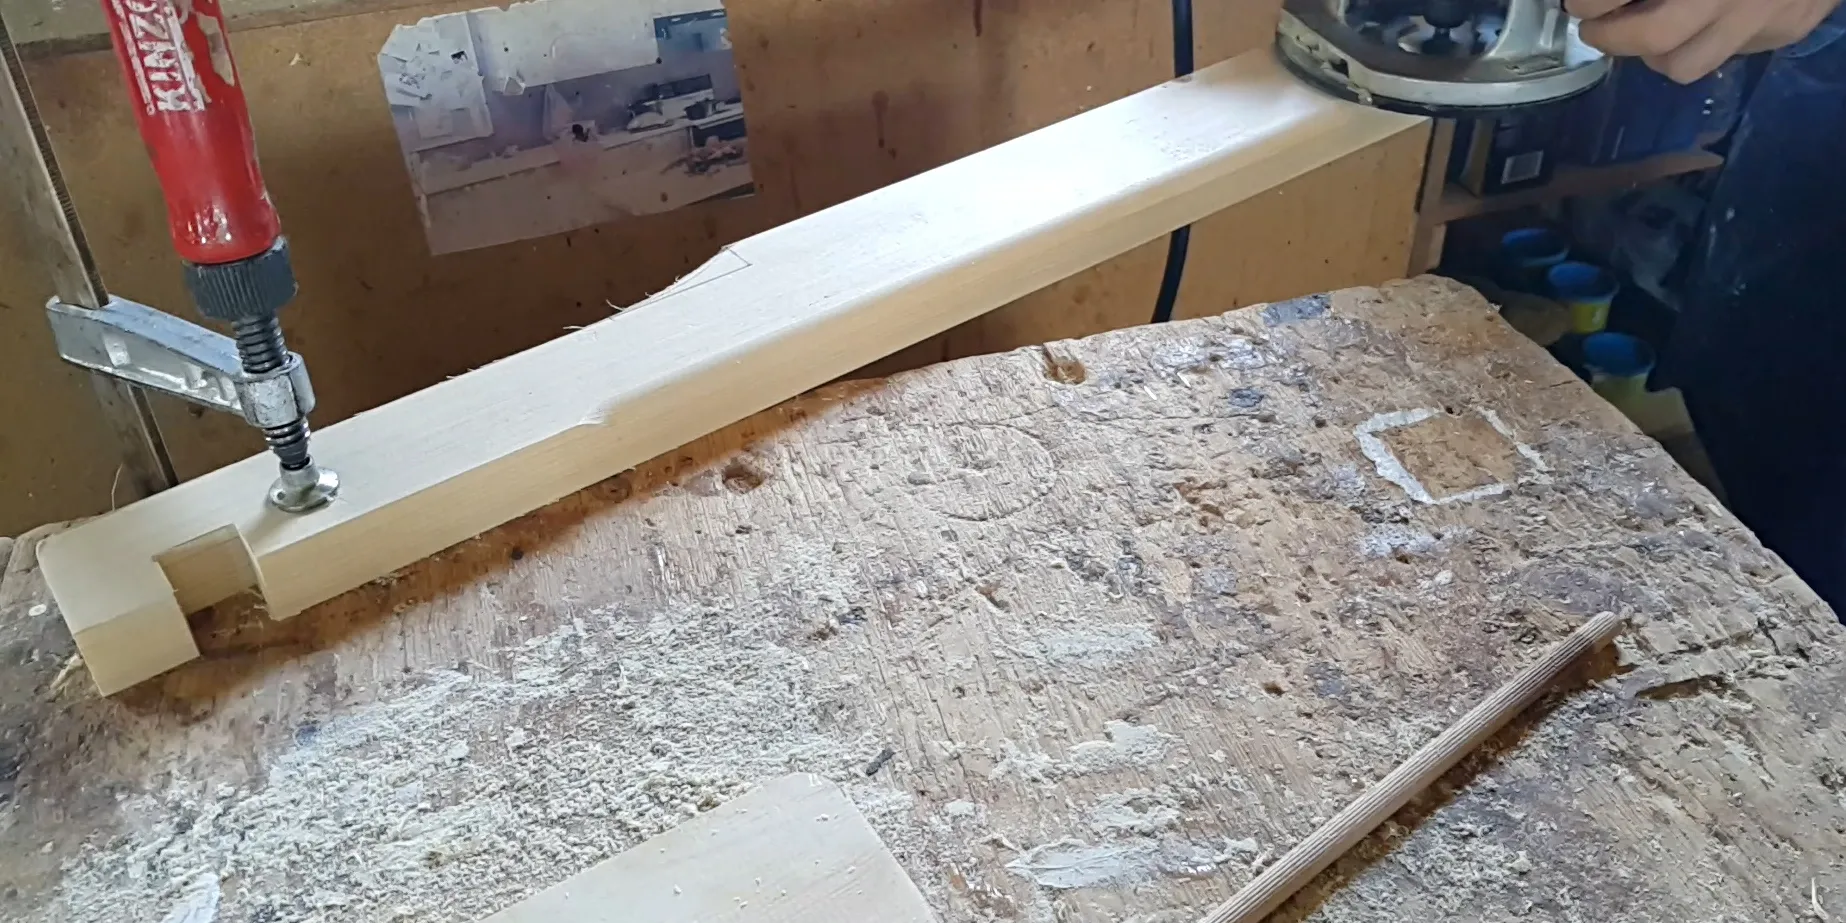
Step 5: Add the Seat and Armrests
After installing the backrest, the seat and armrests became even simpler. I prepared a 55 x 60 cm thick wooden board as a seat. Simply place it on the seat support and nail it in place.
For the armrests, I chose a straight shape. Use a band saw to cut two pieces of wood measuring 50 x 7.0 x 2.5 cm into a shape that is narrow in the front and wide in the back. Two grooves are opened at the connection between the armrest and the backrest for assembly. Finally, use wood glue or nails to secure the armrests to the chair legs.
Step 6: Sand and Paint
By the end of Step 5, our rocking chair is complete. Next, sand and paint it for both aesthetics and weather resistance. Sand all surfaces, edges, and corners of the chair with sandpaper. Stop sanding until the surface is smooth. Then, apply paint or wood stain to enhance the chair’s appearance and weather resistance. Remember to leave the rocking chair alone for a few days after painting until the surface is dry before use.
Step 7: Test and Enjoy
Now you can enjoy your rocking chair to the fullest. Sit on it and rock along, completely relaxing. Check whether the parts of the rocking chair are loose and whether the surface is completely polished. Any minor issues can be fixed at any time.
Decor Your DIY Rocking Chair
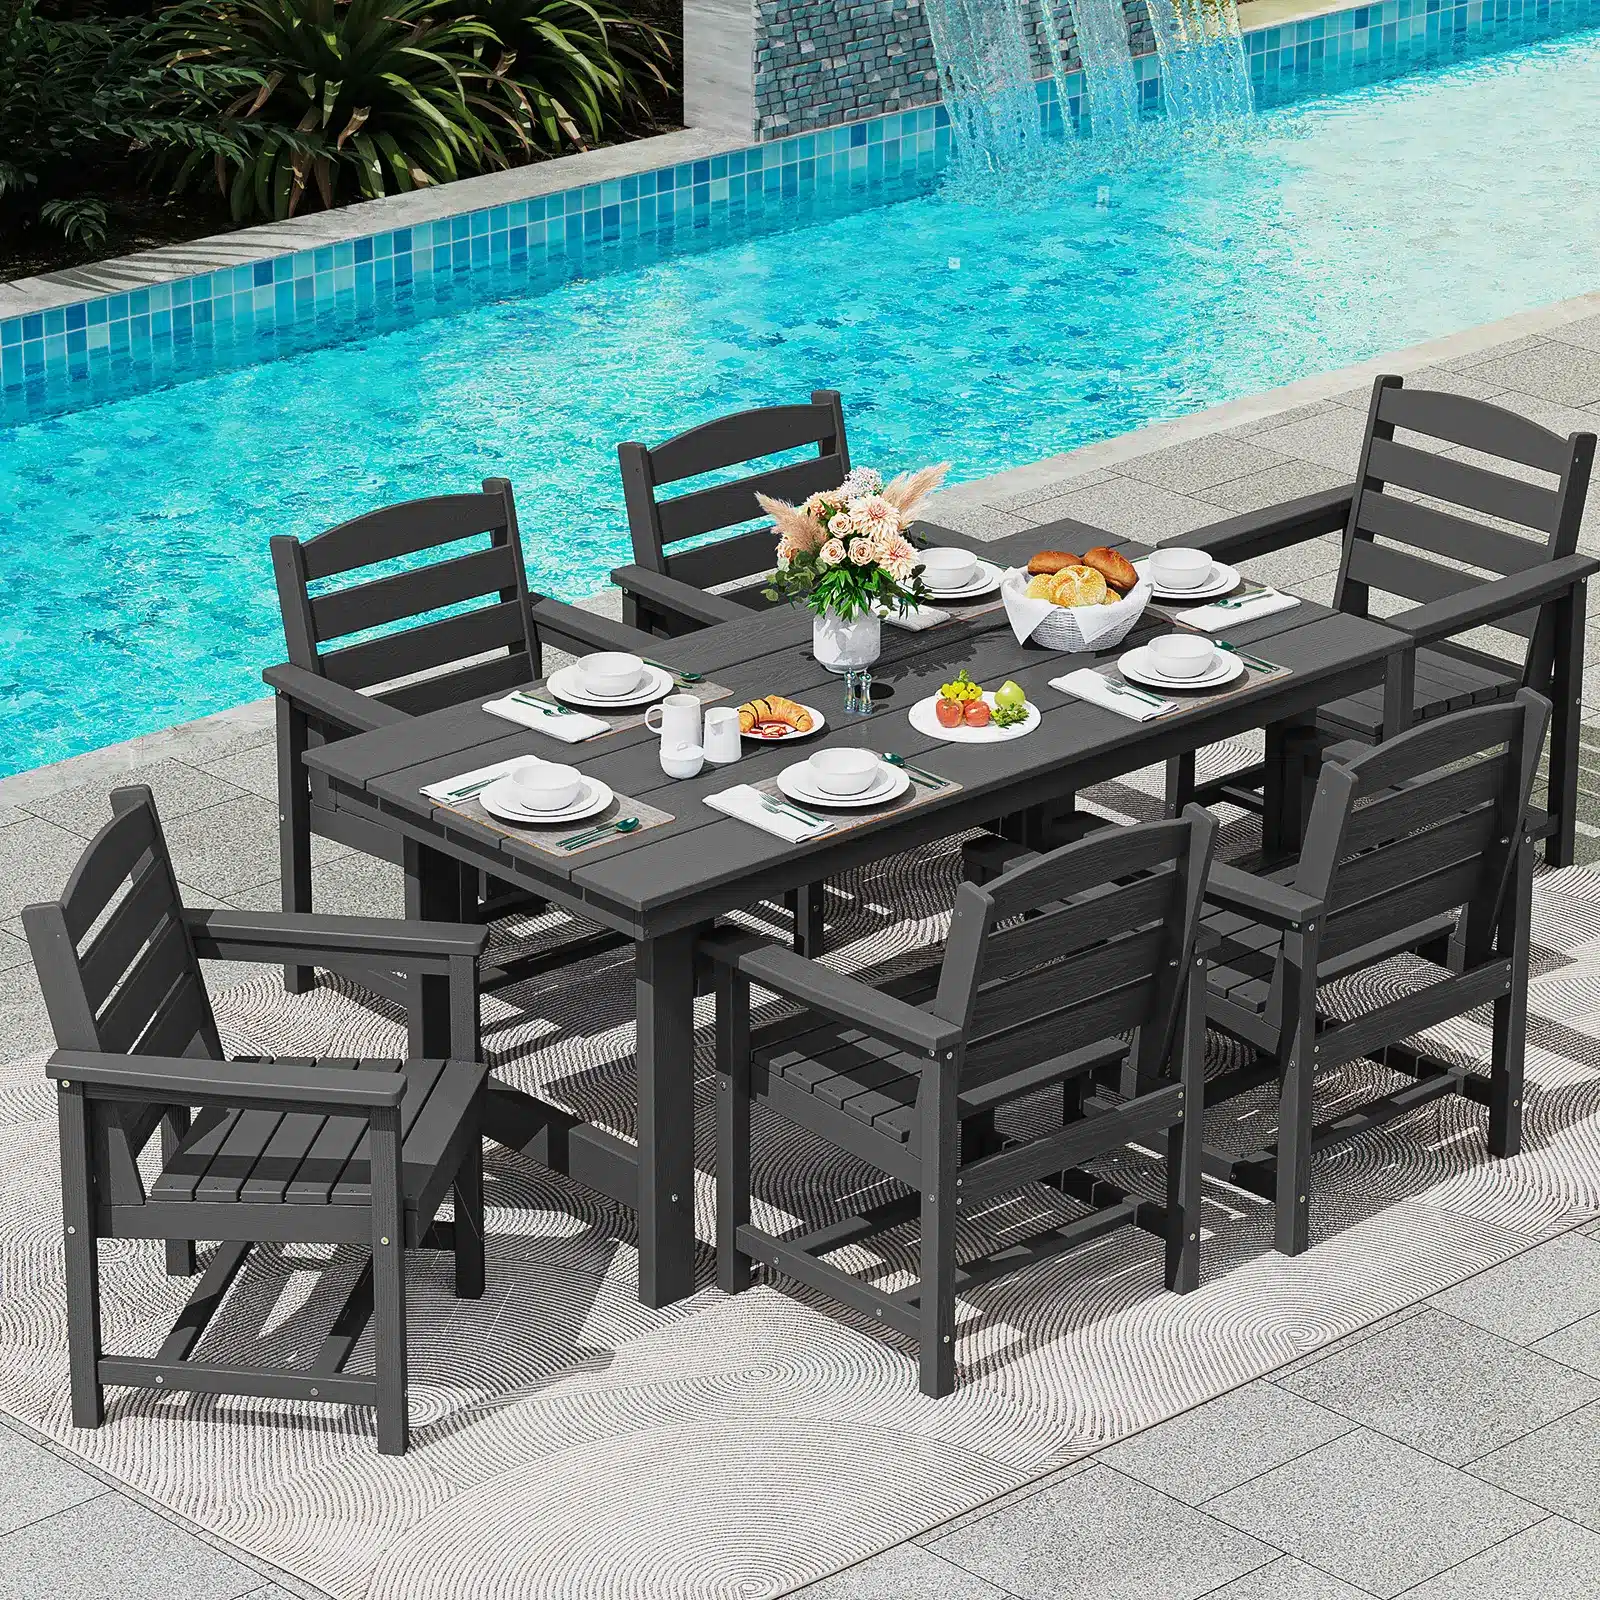
Make your DIY rocking chair more comfortable and convenient by adding decorative accessories. For example, add some cushions or a blanket to make your rocking chair more stylish. Place a side table or coffee table next to the rocking chair to hold drinks, books, or your computer. Transform a simple wooden rocking chair into a patio focal point with these arrangements.
Pick Stylish Accessories for Your Rocking Chair
Final Thoughts
Building a DIY rocking chair isn’t an easy task, but it can be made simple with the right tools, clear instructions, and a little patience. Follow the guide to prepare the necessary materials and tools, and follow the steps to easily get a comfortable and stylish rocking chair. Come try it out and build a rocking chair to rock on your porch.