Fall is coming, colorful fallen leaves dance gracefully in the wind, and the earth shows the beautiful scene of harvest. In order to better experience this season, it may be worth organizing a home handicraft activity, using common items around us to create some fall themed handicrafts together.
Using Natural Materials
Creating handcrafted items using unique natural materials from fall is not only beautiful but also environmentally friendly. These materials allow everyone to connect more closely with nature and experience the charm of seasonal changes.Here are several representative handcrafted items that we recommend making.
Painted Leaves
The process of creating painted fallen leaves is simple, and you can stimulate rich imagination based on the different colors and shapes of fallen leaves, creating unique personalized leaves.
Materials Needed: Fallen Leaves(Maple leaves, Ginkgo leaves, etc), Paints, Brushes
Steps:
- Clean and dry the leaves you will use.
- Planning and design: To celebrate the arrival of autumn, you can paint seasonal fruits like pumpkins and apples on the leaves, or create designs featuring animals like foxes and squirrels. If you prefer a blending style, you can use a brush to apply yellow and reddish-brown paints, creating a beautiful gradient on the leaves.
- After painting, place the leaves in a shady spot to dry, avoiding direct sunlight.
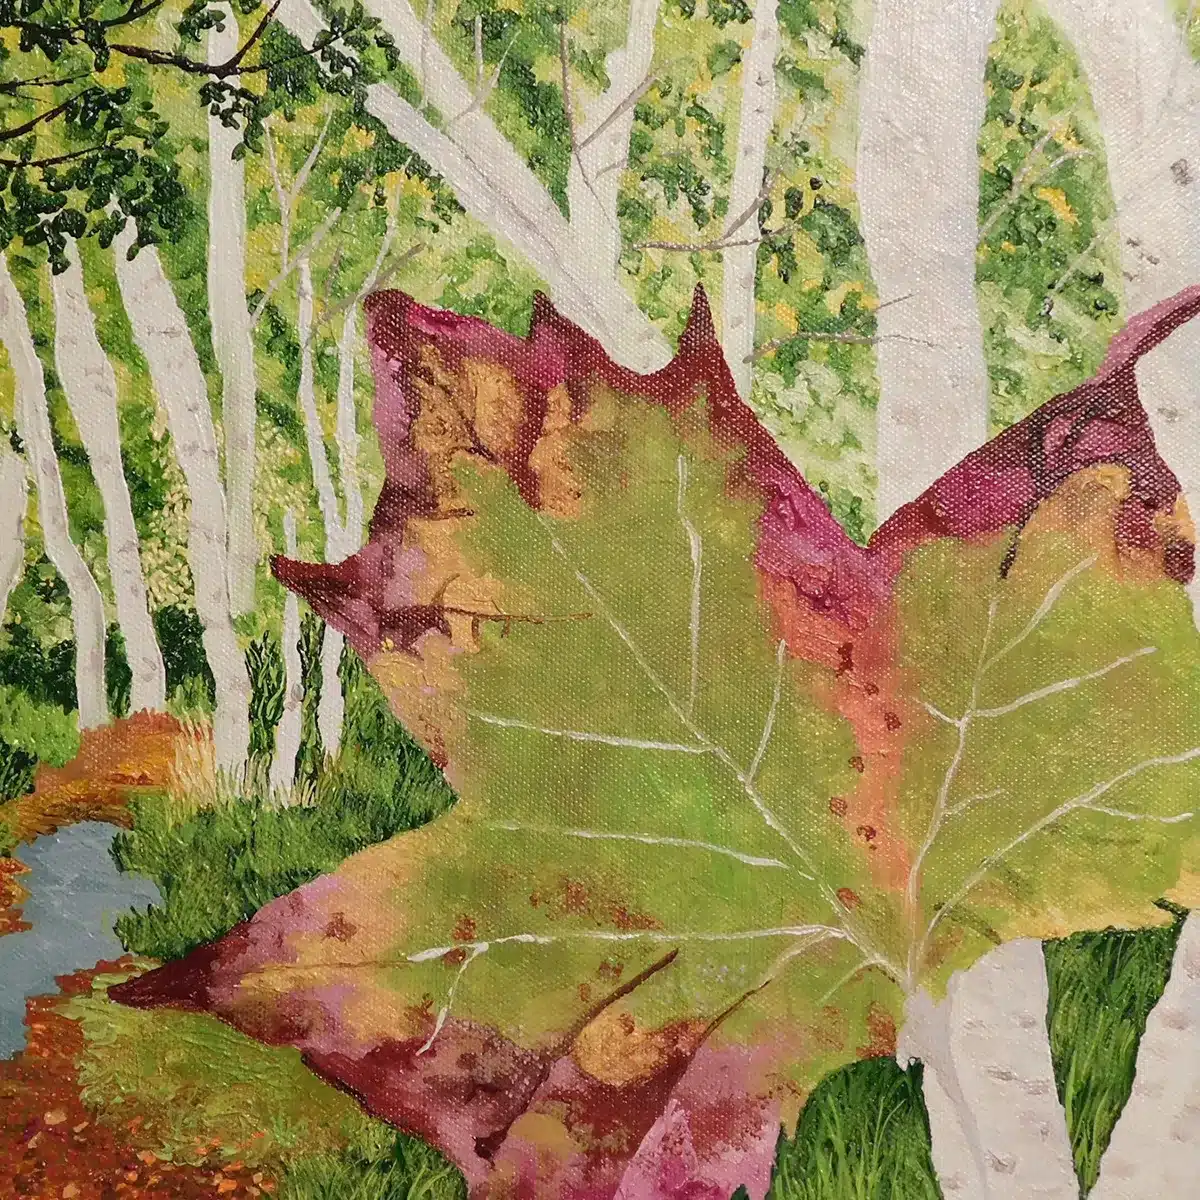
Once finished, the painted leaves can be framed and hung on the wall or placed on a windowsill, adding a touch of natural autumn atmosphere to your interior.
Fall Wreath
We can also combine leaves with dried flowers or pine cones to create beautiful fall wreaths. Whether worn on the head or hung at home, it can strongly reflect the atmosphere of fall.
Materials and steps for making a fall wreath: Please watch the video below.
Pine Cone Flowers
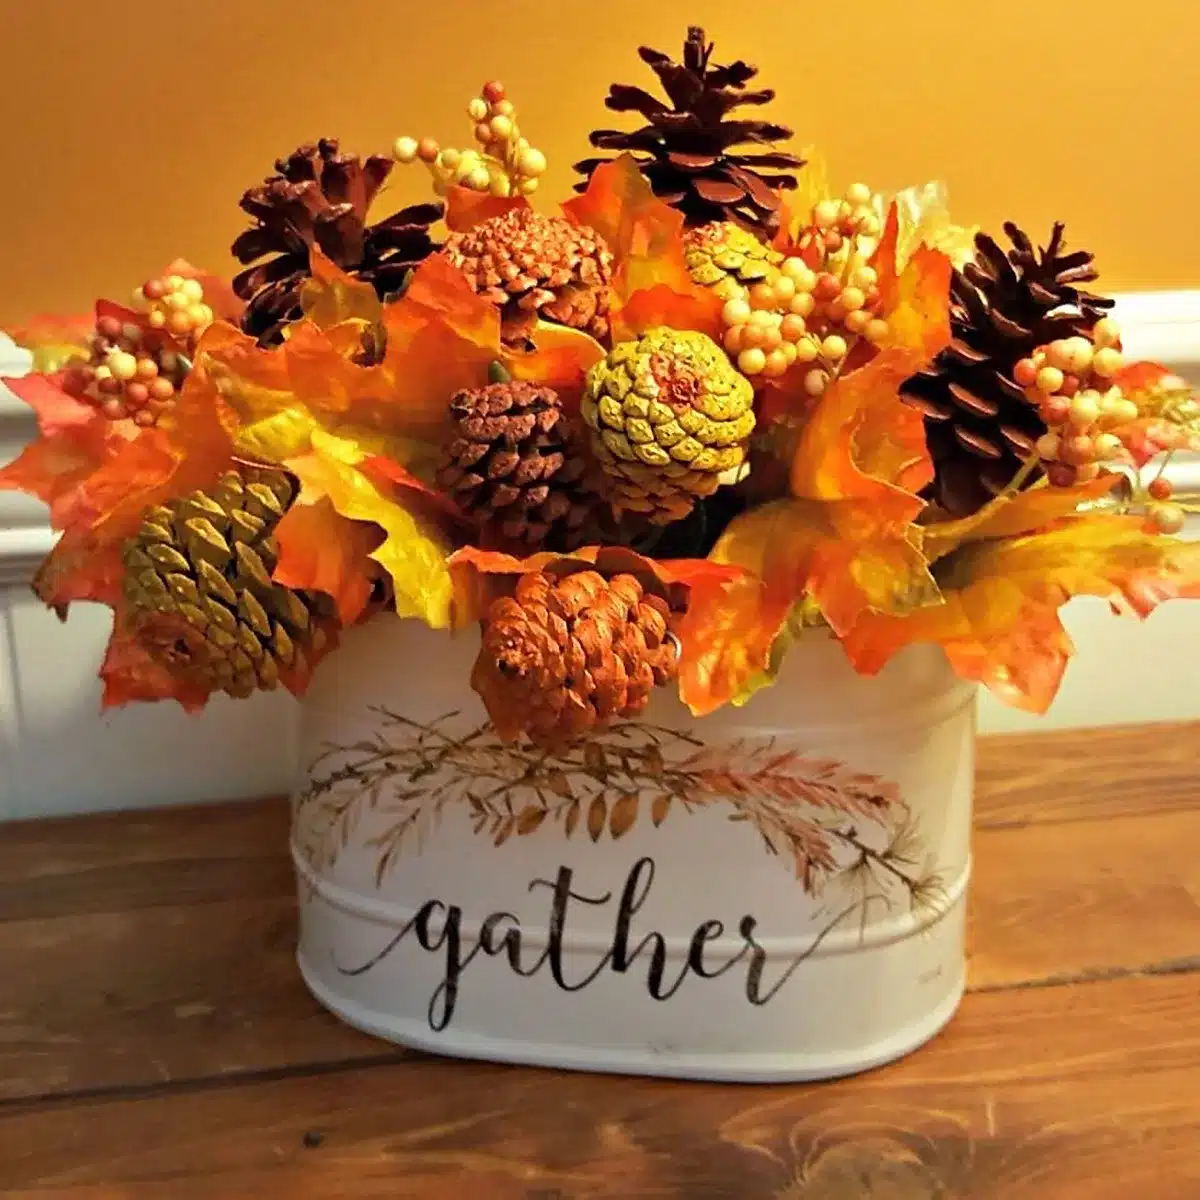
The process of making a pine coneflower is simple and suitable for craft enthusiasts of all ages. A bouquet made of pine cones and dried flowers is not prone to withering and can maintain its beauty for a long time.
Materials Needed: Pinecones, dried flowers(Lavender, Daisy, etc), branches, glue gun (or strong adhesive), paints, brush, wrapping paper, ribbon (optional).
Steps:
- Paint the pine cones in your favorite colors (we recommend gold, silver, or orange) using a brush to evenly coat the surface.
- Use a hot glue gun (or strong adhesive) to securely attach the painted pine cones to the branches.
- Insert dried flowers into the top or side of the pine cones to create a natural bouquet effect.
- Wrap the bottom of the pine cones and dried flowers with wrapping paper, and secure it with ribbon (you can tie a bow with the ribbon).
Embracing Holiday Themes
There are many holidays in fall, for example, Labor Day, Halloween, Thanksgiving. And we can create crafts based on the themes of each holiday to enhance the festive atmosphere. Here are several handmade crafts we recommend making based on different holidays.
Jack-o’-Lantern
Jack-o’-Lanterns are the most representative symbol of Halloween. Making Jack-o’-Lanterns by oneself allows for free creativity and effectively reduces costs.
Materials Needed: Pumpkin, carving knife, spoon, candle or LED light, marker (optional)
Steps:
- Cut off the top of the pumpkin with a knife,making the opening large enough to fit a candle or LED light inside later.
- Dig out the seeds and pulp inside the pumpkin until the inner wall is smooth and clean.
- Draw the pattern you want on the surface of the pumpkin with a pen.
- Carefully cut along the drawing line.
- Put a candle or LED light inside the pumpkin.
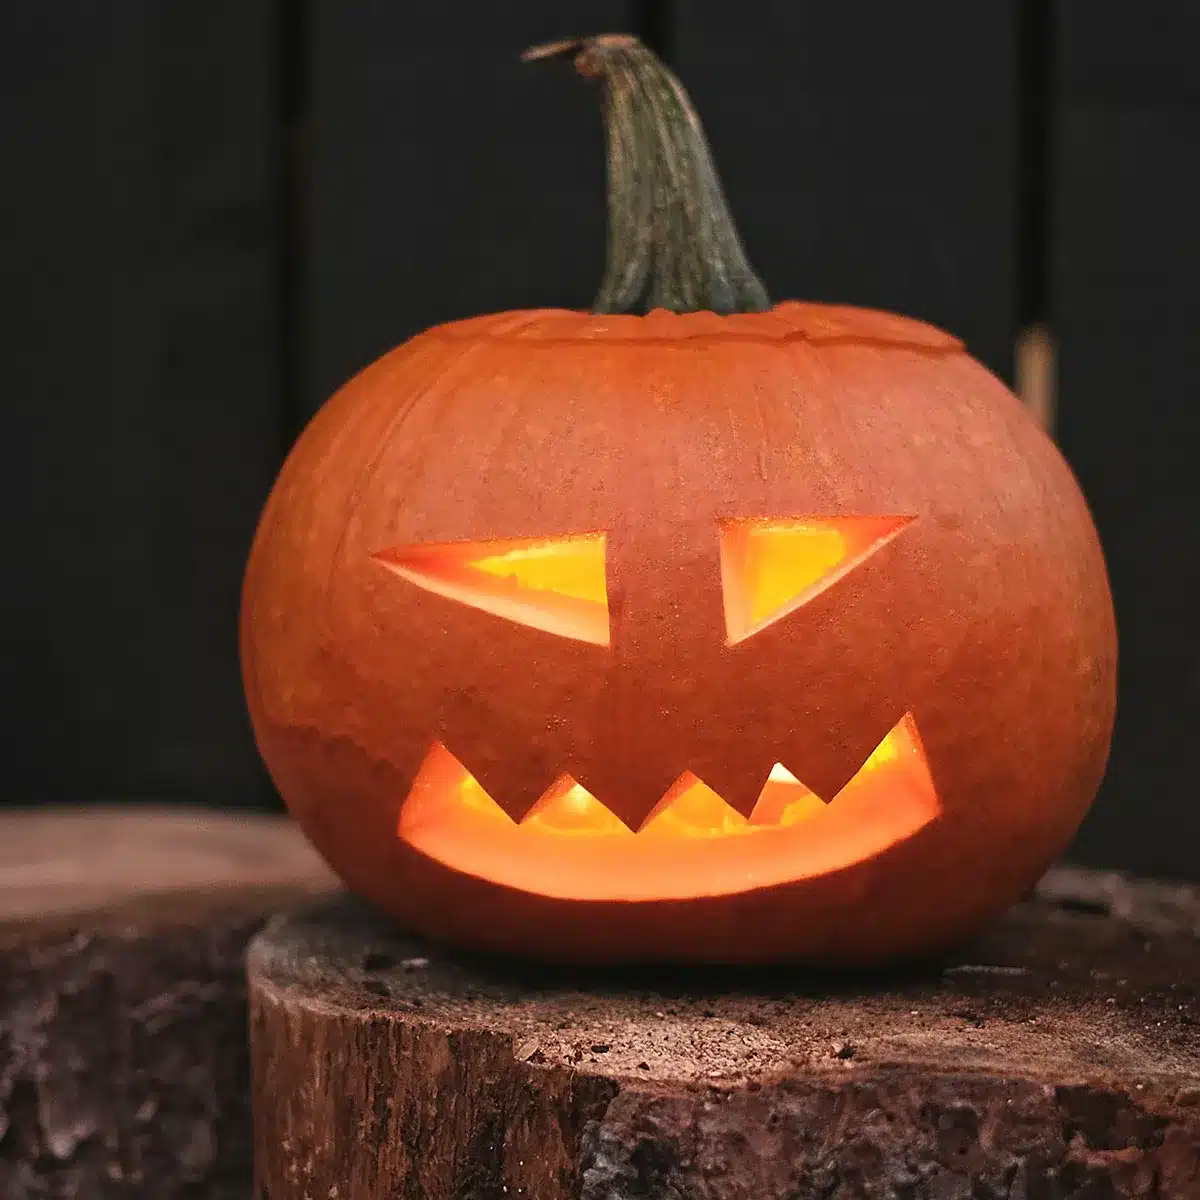
Once finished, you can place the finished jack-o’-lanterns on your door steps, porch, or any other prominent spot to showcase them.
Paper Spider Web
Spider webs are also a classic decoration for Halloween, but we definitely don’t want real spiders making webs in our homes! Instead, we can make our own paper spider webs for decoration.
Materials and steps for making a paper spider web: Please watch the video below.
Fabric Turkey
After Halloween, it’s time for Thanksgiving, a wonderful occasion for family gatherings. When we think of Thanksgiving, turkey is an essential dish on the table. Besides the turkey served for dinner, we can also make fabric turkeys and place them as holiday decorations in the living room.
Materials and steps for making a fabric turkey: Please watch the video below.
Crafting Home Decor Items
We can also use some unique elements of fall to make some beautiful and practical furniture ornaments.
Scented Candle
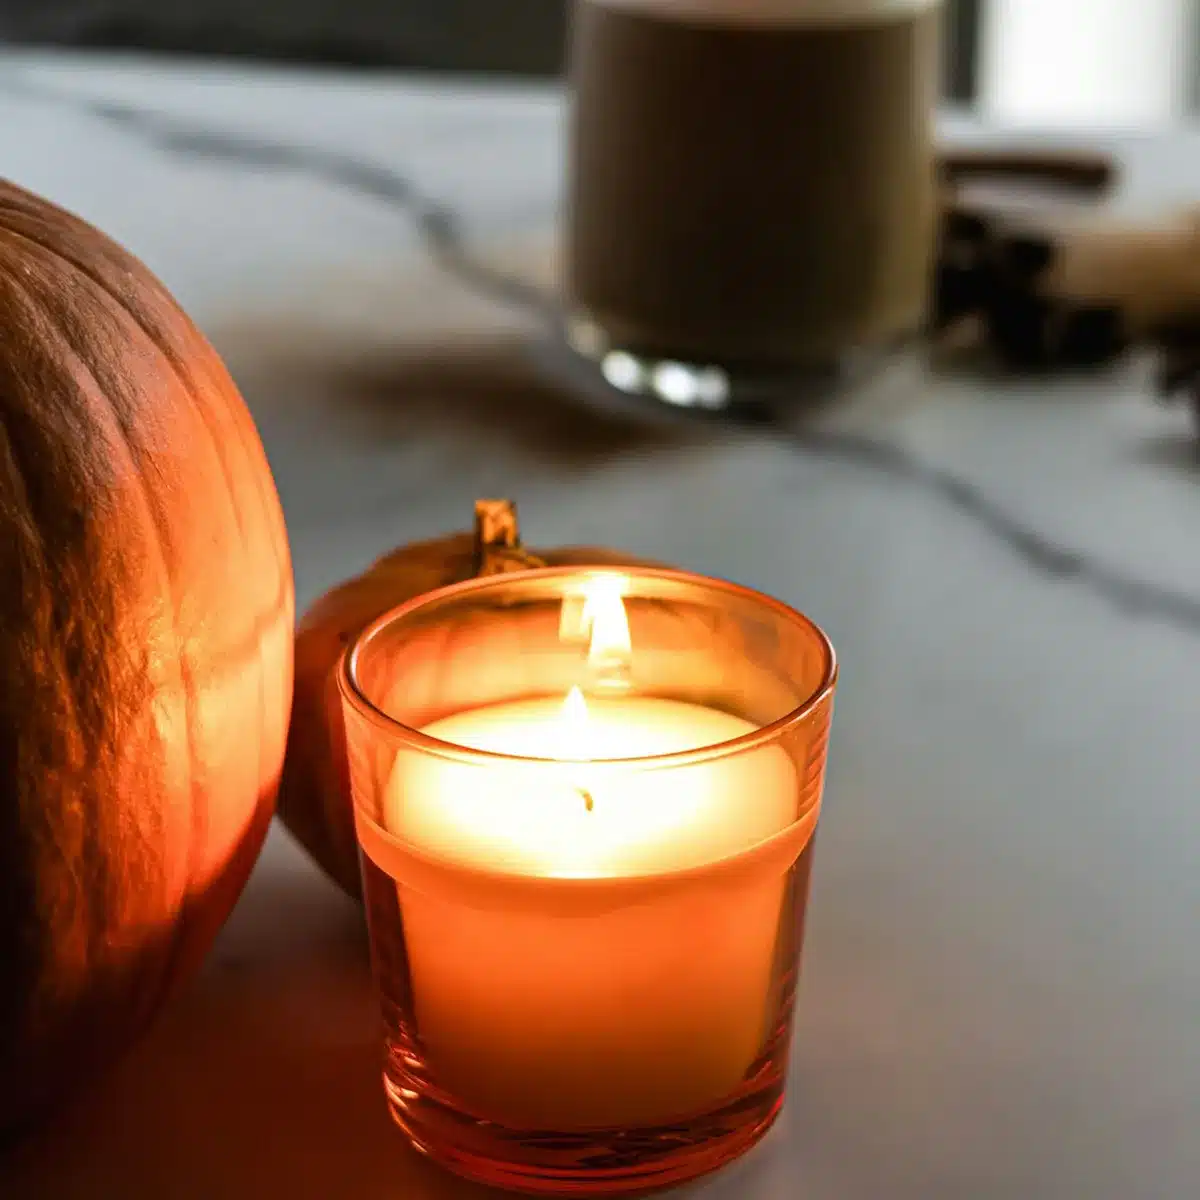
Lighting a jar filled with fall-scented candles can fill your home with the unique romance of the season.
Materials Needed: Wax (soy wax or beeswax), fragrance (such as cinnamon, clove, or vanilla), candle wicks, essential oils (like cinnamon, apple, or pumpkin), glass containers or candle molds, double boiler (or melting pot), thermometer, hot glue, stirring stick, and color dye (optional).
Steps:
- Fill the bottom of a double boiler with water and melt the wax in the top section until fully melted.
- Add the fragrance and essential oils, stirring well (for 16oz of wax, add 10-30ml of essential oil).
- Use hot glue to secure the candle wick to the bottom of the container.
- Slowly pour the mixed wax into the container, ensuring the wick remains centered.
- Allow the candle to cool naturally for a few hours. Once cooled, trim the top of the candle and cut the wick to 0.2 to 0.4 inches.
Rustic Wooden Log Candle Holder
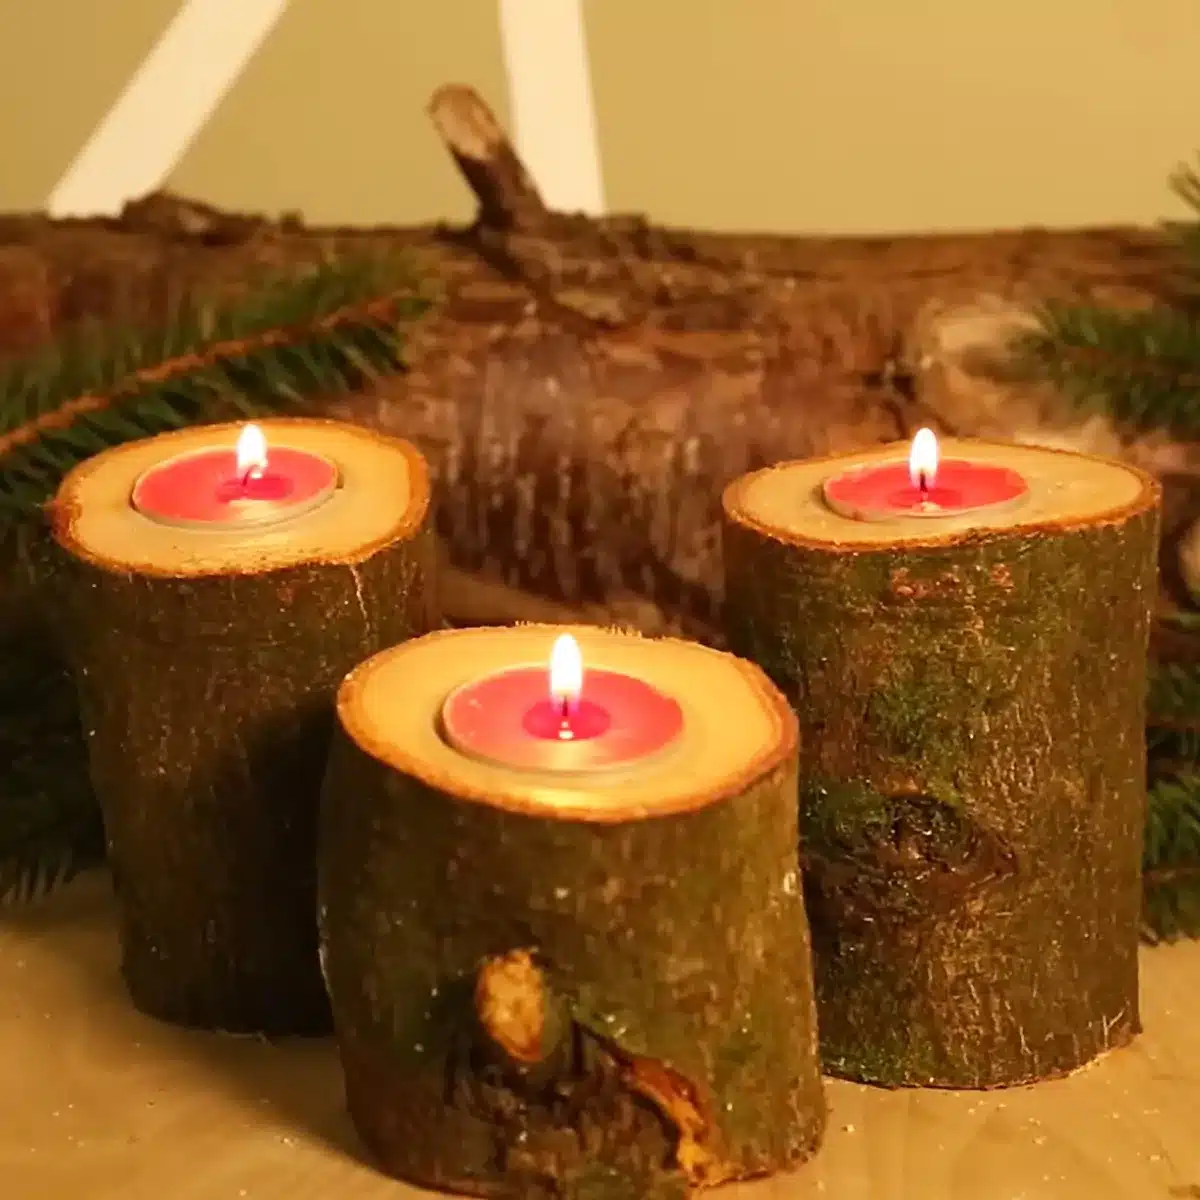
We mentioned making scented candles, and to enhance their display, a candle holder is essential. A branch candle holder is a creative option that adds a touch of natural beauty to your fall romantic moments.
Materials Needed: Rough branch (2-3 inches), knife or chisel, hot glue (or strong adhesive), and sandpaper (optional).
Steps:
- Carve a hole at one end of the branch, slightly larger in diameter than the base ofthe candle, and deep enough for the cande’s height.
- Use sandpaper to smooth the outer surface of the branch and the edges of the hole, ensuring a smooth finish.
- Place the candle into the hole and secure it with hot glue if necessary.
Fall Leaves Placemat
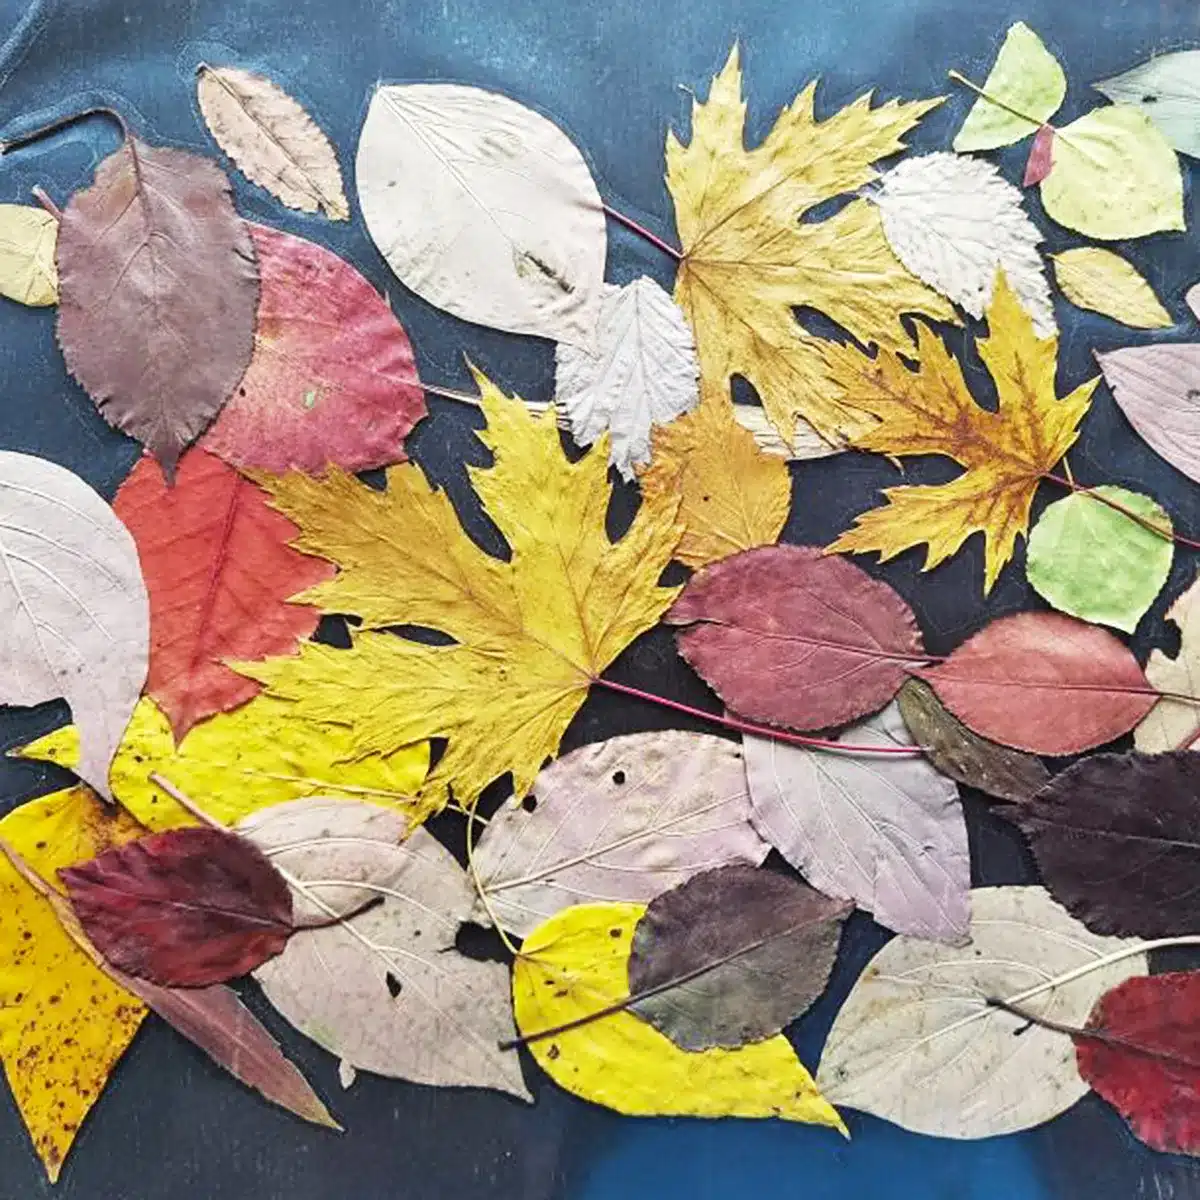
Arranging the collected different types of fallen leaves in a placemat allows us to appreciate their beauty every time we dine, which is also an excellent idea to help us commemorate the beauty of fall.
Materials Needed: (Fresh) leaves, clear self-adhesive plastic (like contact paper), and scissors.
Steps:
- Cut the clear self-adhesive plastic to about 12×16 inches.
- Carefully arrange the dried leaves on the sticky side, ensuring an even distribution.
- Peel off the backing and cover the leaves, gently pressing to remove any bubbles.
- Use scissors to trim the edges for a neat finish.
Let’s get creative together and make some crafts! By expanding our imagination, we can transform nature’s gifts into art. After completion, don’t forget to share your work in the comment section and exchange tips and inspirations with everyone. Hope you can have unlimited fun in this process!

