Don’t be in a hurry to throw out old stuff around the house! Those dusty basketballs, dead light bulbs, and even teapots with missing handles can take on a new life in your hands. With a little creativity and patience, you can turn them into unique planters full of personality.
Next, share some diy outdoor planter ideas to show you how to transform them into charming planter decorations.
1. Tire Planter
Tire planters are the most common and classic DIY planters. Used tires are popular for their wear resistance and low maintenance. The curved contours and textures have an industrial aesthetic and can be painted or stacked to add a unique artistic touch.
DIY Steps:
- Rinse the inside of the tire with a high-pressure water gun and let it dry in the sun.
- Drill 5-8 drainage holes on the bottom of the tire (if hanging, the sidewalls need to be drilled and threaded).
- Place a layer of small rocks or clay pebbles on the bottom of the tire to help moisture flow.
- Fill the tire 1/2 to 2/3 of the way with soil to make sure the plants have enough room to grow.
Tips: Tire planters are good for plants that don’t have too deep a root system or are fast growers, such as strawberries, small tomatoes, or herbaceous plants.

2. Basketball Planter
Basketball planter is unique and sporty in shape. Combined with greenery, it can add more vitality to your garden or balcony.
DIY Steps:
- Use a utility knife to cut horizontally along the top of the basketball, keeping 1/3 part as planting space.
- Punch 3-5 drainage holes at the bottom of the basketball to avoid waterlogging and root rotting.
- Fill in the soil and plant your favorite plants.
- Paint the surface of the basketball according to your preference, or add twine for hanging.

3. Light Bulb Planter
Light bulb planters are small and delicate, especially suitable for creating miniature landscapes. It is a good choice to hang by the window or on the balcony railing.
DIY Steps:
- Wear gloves and use pliers to carefully unscrew the bottom metal contacts.
- Use a screwdriver to gently pry open the black insulator and remove the inner filament and glass post.
- Pour in a small amount of activated charcoal or small stones as a drainage layer. Spread water moss or nutrient soil and spray water to keep it moist.
- Wrap the metal threaded opening with twine or fine wire and secure it in a softly lit area.

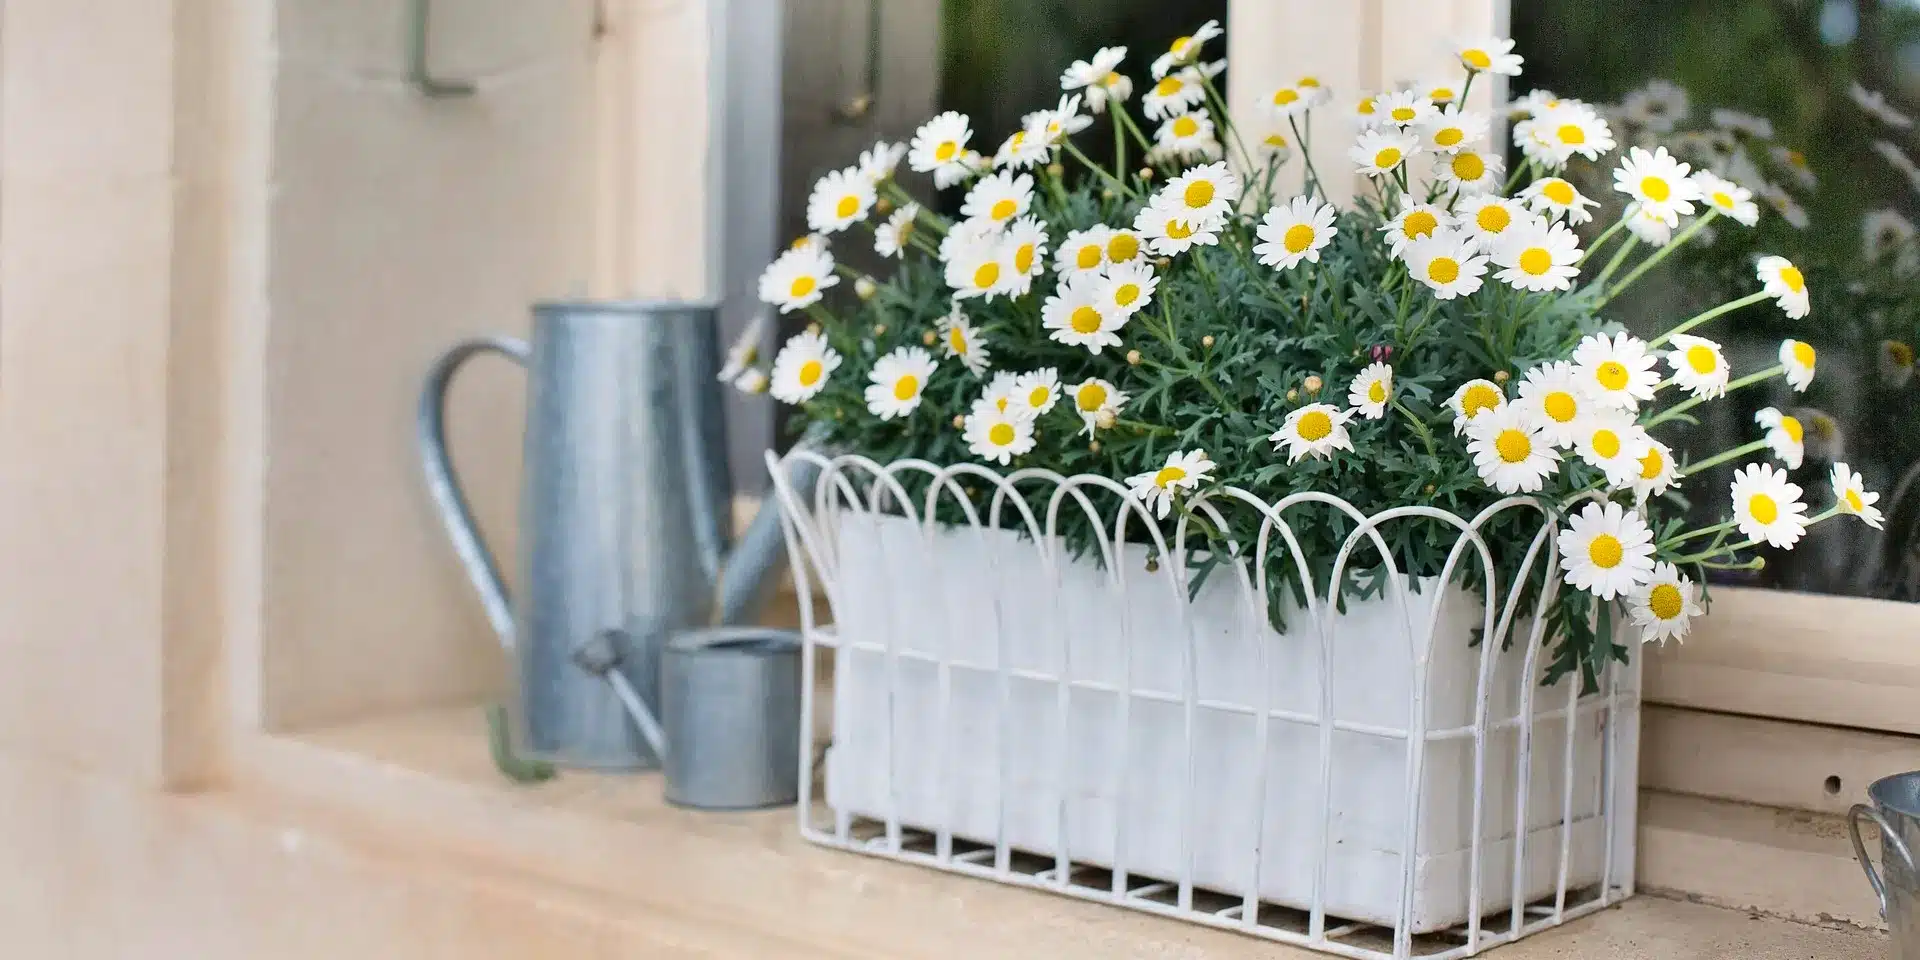
4. Galvanized Bucket Planter
The planter made of galvanized bucket is waterproof and rustproof, with high durability. Its vintage industrial style can add a unique decorative charm to your patio or backyard.
DIY Steps:
- Thoroughly clean the inside and outside of the bucket to remove any stains or residue, air dry and set aside.
- Drill 5-8 drainage holes evenly in the bottom of the bucket with an electric drill (the holes are about 1.2 inches apart).
- Place gravel or activated charcoal on the bottom as a drainage layer and cover with soil.
- Plant plants, such as succulents or daisies.

5. Handbag Planter
Repurpose handbags that are no longer used to add eco-friendliness and creativity to your outdoor space. Handbag planters are usually easy to move, you can adjust the placement at any time, practical and beautiful.
DIY Steps:
- Choose a sturdy handbag, leather, canvas are more suitable.
- Punch 3-5 small holes at the bottom of the handbag (you can place a tray underneath to catch any excess water).
- Place waterproof material inside the bag (such as cut plastic cloth, tarpaulin), fixed with glue or needle and thread to ensure that the water will not penetrate outside the bag.
- Place some gravel or clay pebbles at the bottom to increase drainage and cover with soil.
Tips: As the space of the handbag is limited, it is better to choose some small plants, such as succulents and dwarf calendula.

6. Boot Planter
Boot planters are one of the classic choices for DIY planters. You can choose from different styles, such as leather boots or rain boots, to create a variety of styles, such as vintage style, industrial style, and more. Boot planters are also great decorations to add unique charm to your front porch, balcony, or deck.
DIY Steps:
- Thoroughly clean the boots to remove dirt inside and out.
- Drill or nail 3-5 drainage holes (some rain boots can directly utilize the original holes).
- Spread thick pebbles or clay pebbles on the bottom to prevent water from pooling at the plant roots.
- Fill the boot with soil, gently pack it down, then plant.
Tips: When planting plants, try to choose varieties that are easy to care for, such as pansies, sunflowers or petunias.

7. Drawer Planter
Use the layered structure of old drawers or stack individual ones to make the most of vertical space and create a charming and tiered plant landscape in a limited space.
DIY Steps:
- Sandpaper the inside and outside of old drawers to remove burrs and clean up debris.
- Drill 5-6 drainage holes evenly on the bottom.
- Brush a layer of outdoor waterproof paint (or palce tarpaulin) on the inside to avoid wood rot.
- Place gravel or foam blocks at the bottom and cover with nutrient soil.
- Select plants suitable for different light and humidity requirements according to the number of layers.
Tips: If stacking multiple layers, space each layer at least 4 inches apart to ensure ventilation

8. Cup Planter
Transforming unused cups into planters is creative and fun. Its petite shape is suitable for planting succulents, pothos and other small plants and is a good decoration for a windowsill or desktop.
DIY Steps:
- Thoroughly brush the cup inside and out, making sure to remove any previous stains or mold.
- Punch a few holes in the bottom of the cup and place a tray under the holes to catch the water.
- Place some gravel or clay pebbles in the bottom of the cup.
- Add soil up to 2/3 of the cup and you are ready to start planting!
Tips: If the cup is fragile, it is recommended to choose to plant drought-tolerant plants to avoid frequent access to the teapot resulting in bumps.

9. Wheelbarrow Planter
The cart has a large capacity, and making it into a planter allows you to freely combine greenery and flowers in it. It is also very easy to move around if the wheels are still usable.
DIY Steps:
- Clean the dirt inside and outside of the wheelbarrow. Paint it with anti-corrosion or anti-rust paint depending on the body material.
- Drill several drainage holes on the bottom of the cart to avoid water accumulation.
- Spread clay pebbles or gravel on the bottom. Add soil to 2/3 of the cart.
You can plant your plants! It’s more beautiful when you plant them in different zones.

10. Mason Jar Planter
Mason jars are fresh and versatile, clear glass planters that allow you to clearly observe the growth of your plant’s roots. Whether placed individually or grouped together, Mason jar planters are standout decorations to your outdoor life.
Mason jar planters are suitable for use in both soil and hydroponic cultivation, and we’ll introduce you to each of them below.
Soil Cultivation DIY Steps:
- Clean the jar and remove any residue.
- Drill 2-3 drainage holes in the bottom of the jar with a glass drill bit (wear goggles when doing this and drill slowly to prevent shattering).
- Spread a layer of small rocks or clay pebbles on the bottom of the Mason jar to help with drainage.
- Fill with appropriate soil.
Hydroponic Cultivation DIY Steps:
- Clean the jar to remove any residue.
- Place small stones or perlite into the bottom of the Mason jar to help hold the plant roots in place.
- Pour in an appropriate amount of water, making sure the water level completely submerges the plant’s roots.

These creative DIY planter ideas can bring old things back to life and fill the space with greenery. Come to the comment section to show us the planters you made or share your tips on how to make them. Let’s add more colors to our lives together with creativity and environmental protection!